 English | EN

In the next posts I am going to delve into an Azure component that is becoming more and more important day by day, since it allows configuring the type of storage, type of information to be stored, security, and all at very low costs. I am talking about Azure Storage Account.
As I do not want to make a very theoretical first entry, I will initially skip the different types of storage, to jump to the connection part between Azure Storage Explorer and our storage account. And since there is no better way to explain than through “learning by doing”, I am not entertained anymore, to the hassle.
To do this, I am going to use a virtual machine deployed in Azure from one of my subscriptions to connect to the Storage Account through Azure Storage Explorer and thus be able to work with the two documents that we will upload.
NOTE : This is interesting, because in one of the final examples, I will restrict the connection to the storage account to the Service Endpoints of the VNet where the VM is hosted.
The first case will be to create a Blob type storage within our Storage Account and a container within it. We will call it container1.
Once created, I upload a couple of files and voila, we can start testing the security and permissions aspects by assigning or removing them.

To do this, I start by configuring access from our Storage Explorer. What is done, by selecting the Storage Account icon and clicking with the right button of our mouse to click again on connecting to Azure Storage. In the next step, the display that we see below will appear.

At this point, all that remains is to select the first option, which is the simplest because it involves resources created in the same Azure subscription. To do this, we must successfully complete all the steps that Azure requires us to authenticate, such as including the email linked to the subscription, our key, etc.
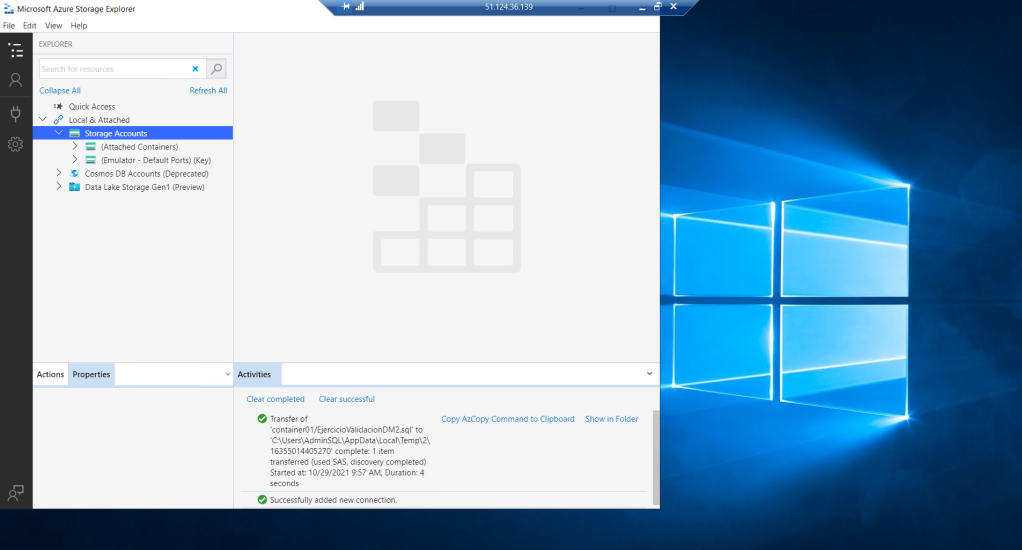
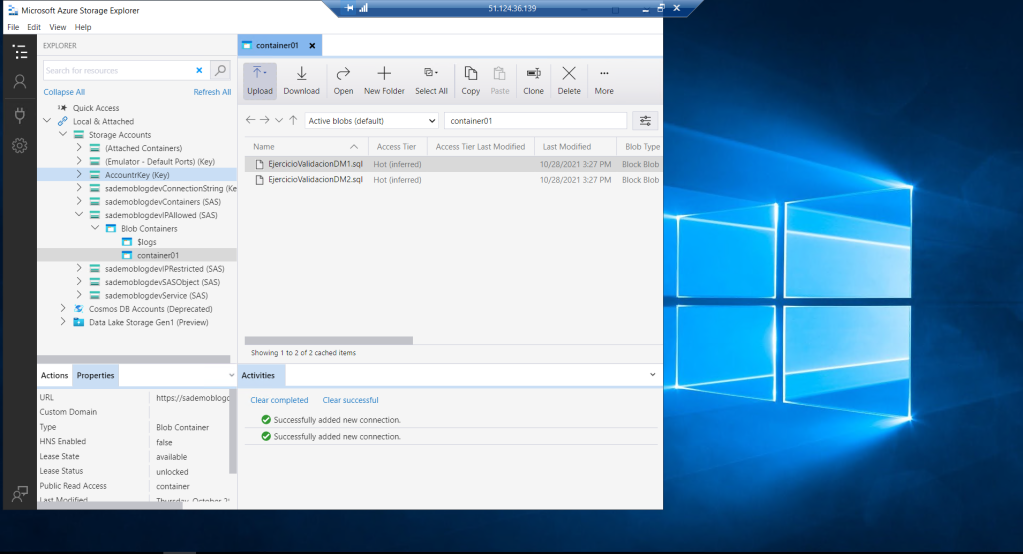
Well, as soon as we finish the process we see that we have managed to visualize our storage account. So I can display its content and specifically access the set of files in container1. There I can see the two documents that I previously uploaded to the container.

NOTE : The same steps should be completed in case of accessing from any other computer to authenticate against my Azure account.
Let’s complicate it a bit. To do this, the first thing is to delete the connection just created in Azure from the Storage Explorer and the next thing is to try to connect using the second option, that is, to the Storage Account.
Let’s observe how in this case it offers me three options.
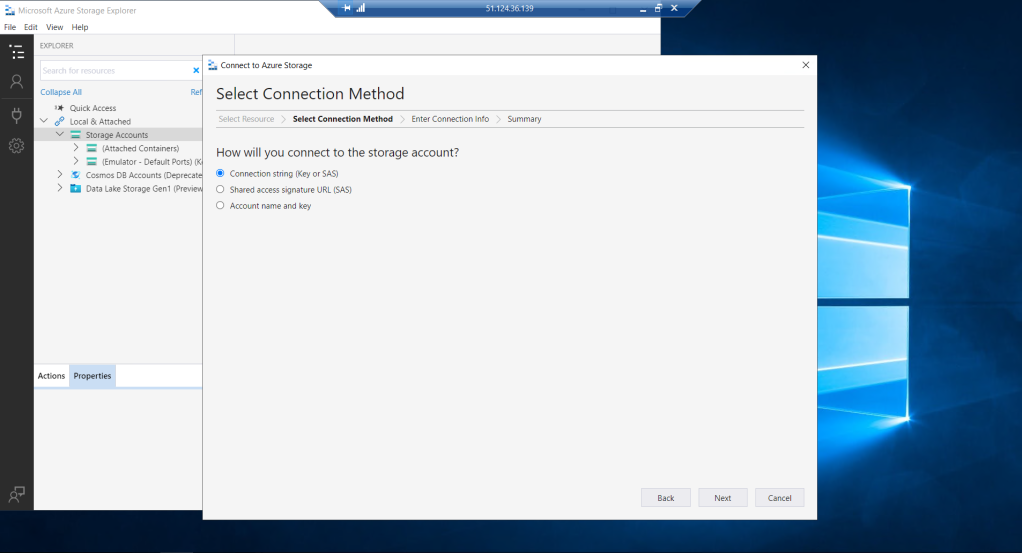
I choose the first one and in the end of completing the fields that are requested, on the one hand the name of the connection and secondly, the value of the connection string.

The connection string is accessible from the Access Key menu of the Storage Account. We see that we have two Keys, this is very useful when we want to regenerate one of them, guaranteeing access to resources through the second Key and its subsequent update.

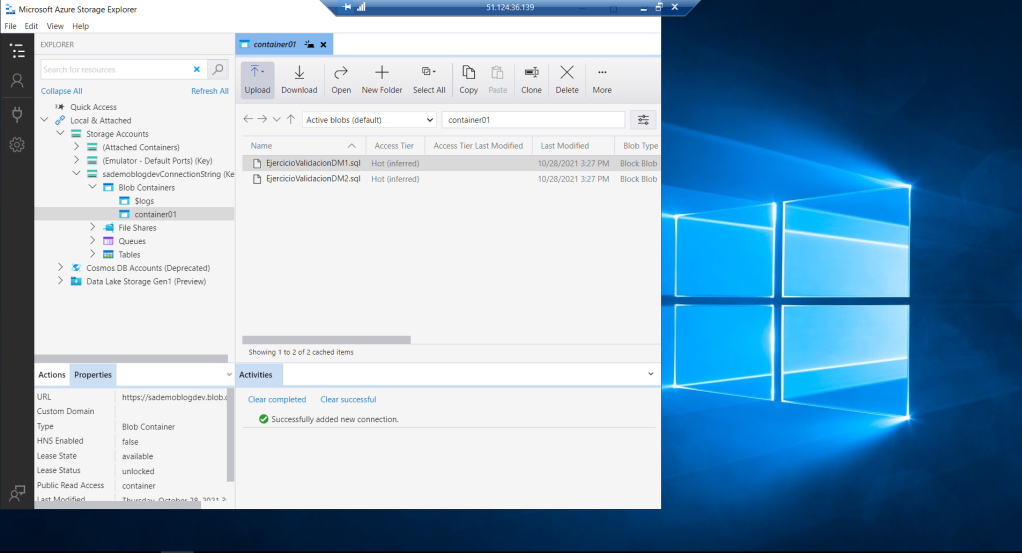
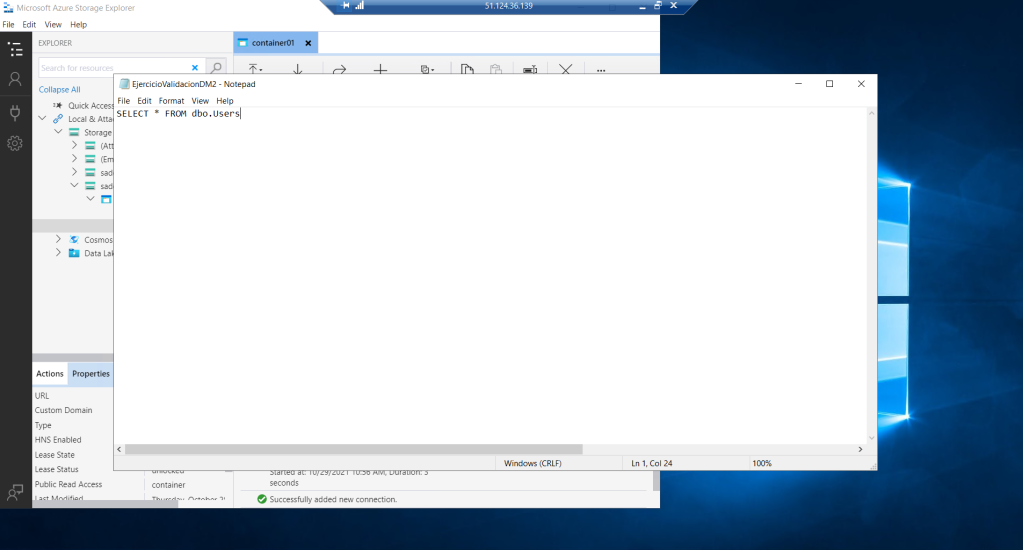
I try to access it from my Azure Storage Explorer and the files are there, and even if I click on any of them, I am able to see their content. !! Congratulations!!
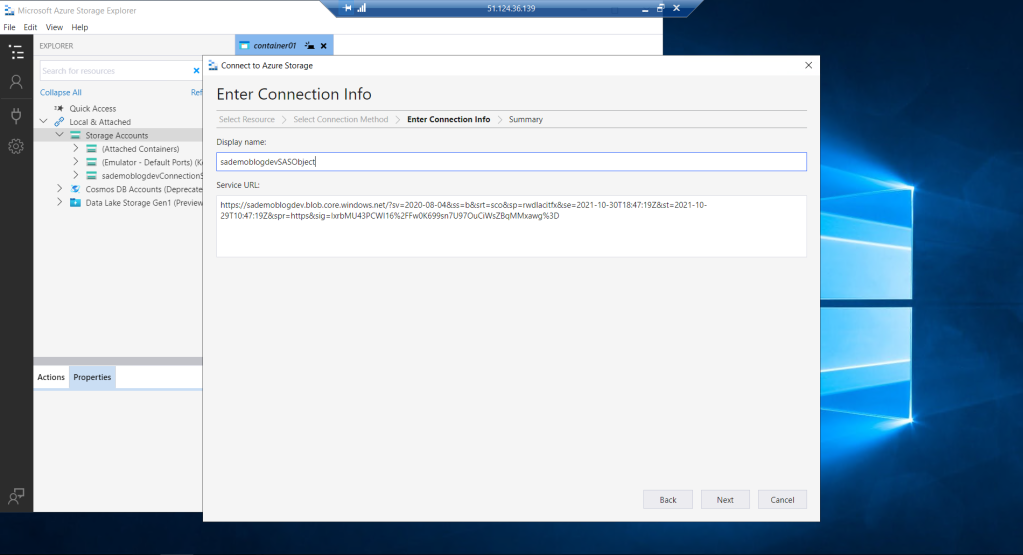
Then I select the second alternative , although for this case, I must previously generate a Shared Access Signature to which I apply the expiration of one day and copy. Let’s see how.
To do this, I click on Shared Access Signature and configure it by limiting the set of resources to allow access within our Storage Account . I also indicate the type of resources, permits, etc.
It is important to control access to resources well, because if I don’t select Object , I won’t be able to access the file. We will see later, now we limit ourselves to granting full access to the Blob. I hit the generate button and copy the content of the last text box.

I include the copied value in the Service URL field and hit Next.
There again, we have our two files.

We even see that we can read the content.
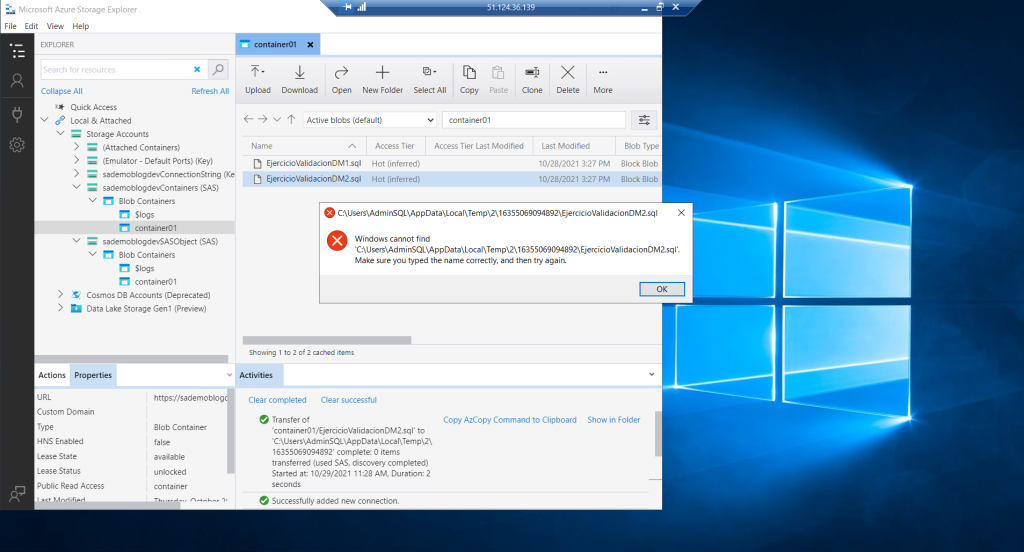
What happens if we remove the permission on the Object when creating the SAS?

We see that we cannot access the content of the file. It is not accessible, we have restricted it by changing the settings on the Object.
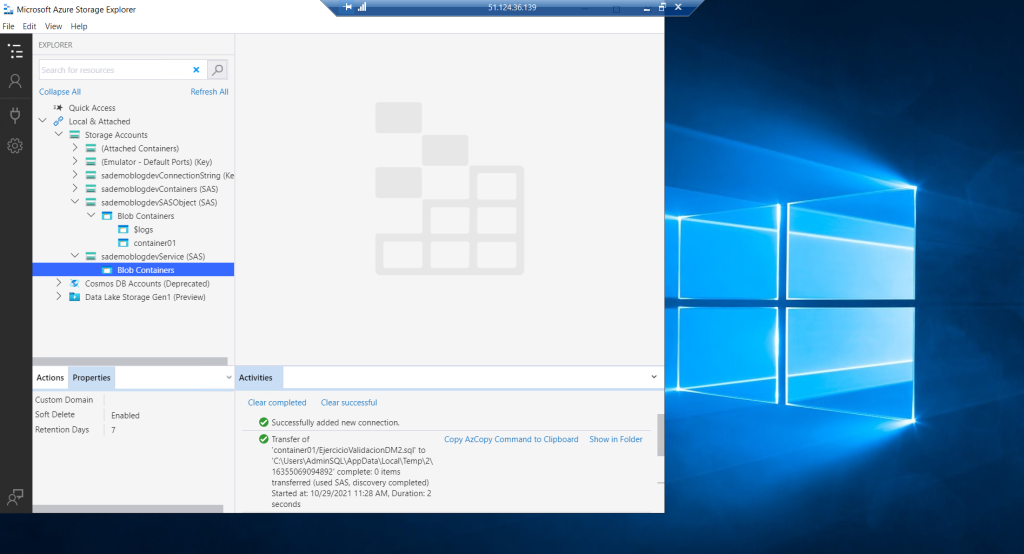
What if we remove the permission to the Container? Well, they are simply not accessed. That is, they are not even visible when clicking on the Blob.
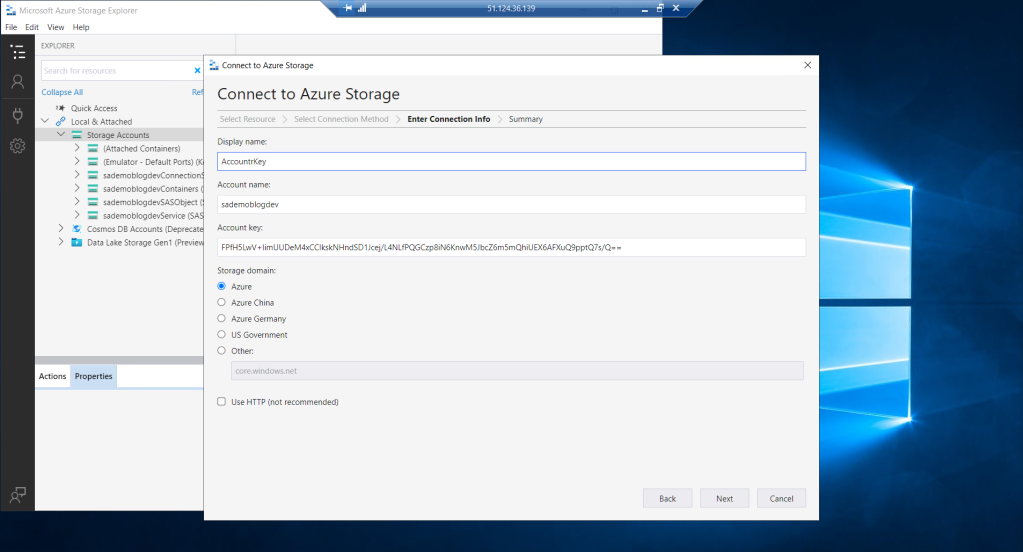
Finally, if we decide to connect using Account Name and Key, we must access the menu where we saw our Keys, copy the content of one of them and copy it in the connection configuration form.
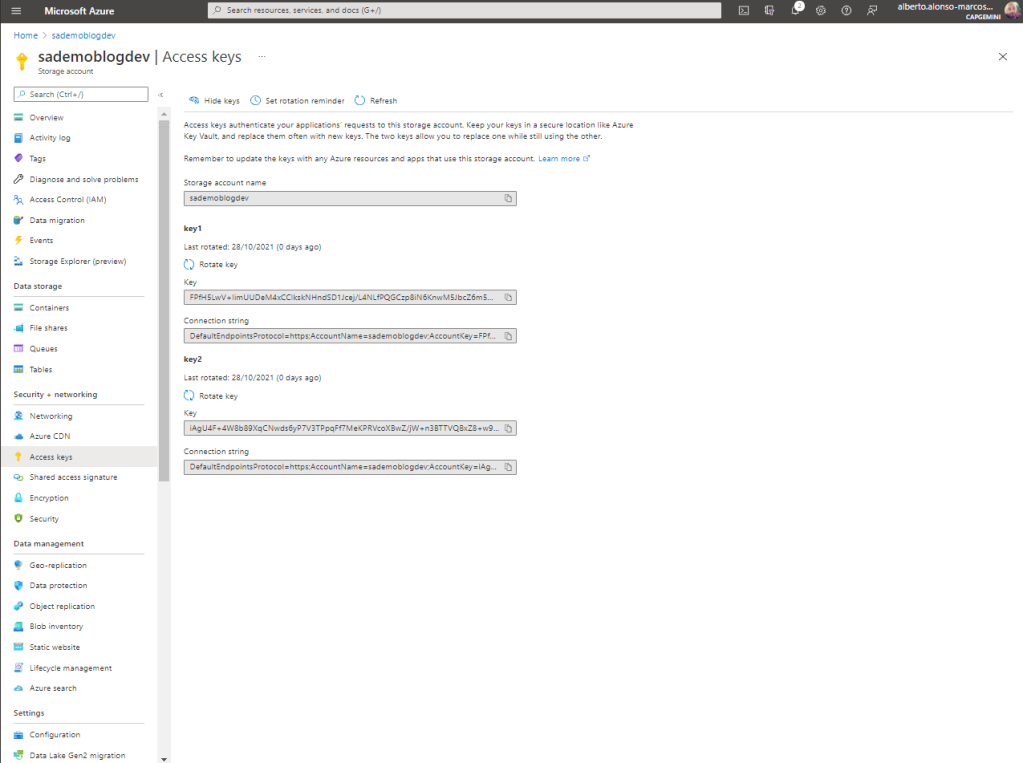
After copying the content of the Key in the Account Key field, we can only indicate the name of the storage account. This is the reason why each account has a unique name in all of Azure.
We test and see that we can access both the Storage Account, the Containers and the files they contain.
Networking
A very efficient way to limit the accesses to our Storage Account is through the configuration of the access types. For example limiting this by selecting a specific set of networks.
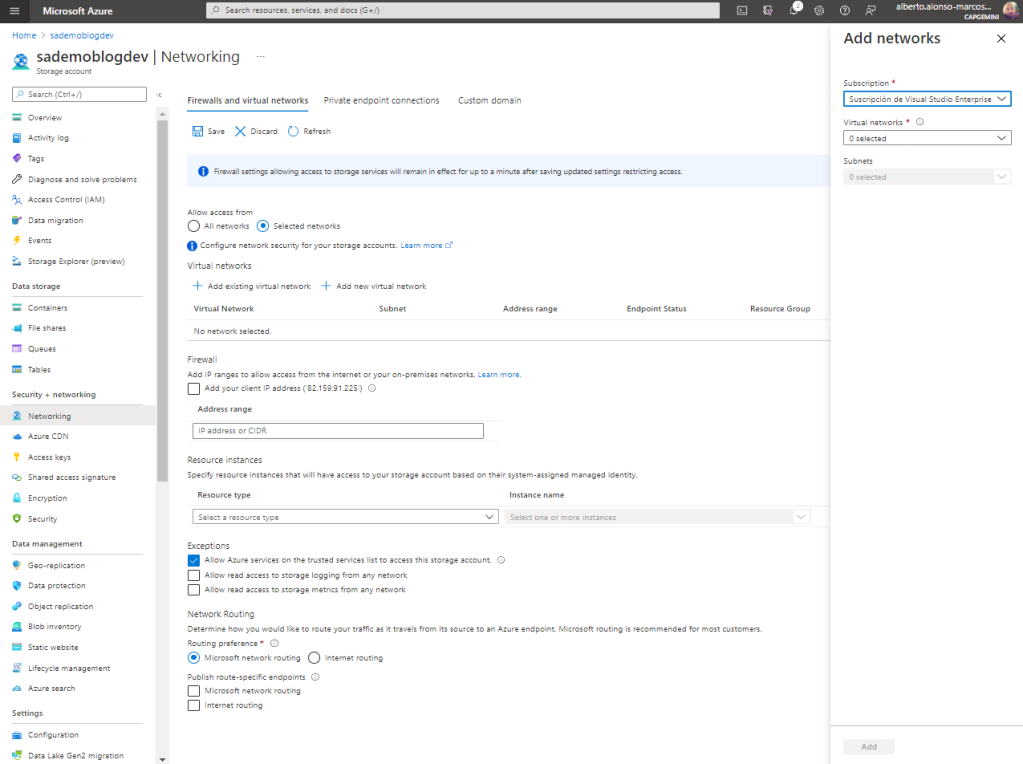
The first thing you should do is verify that the VNet of your VM has a Service Endpoints for Storage Account, if not create it.

Once created, we only have to select it from the Networking area of the Storage Account as we see on the screen.
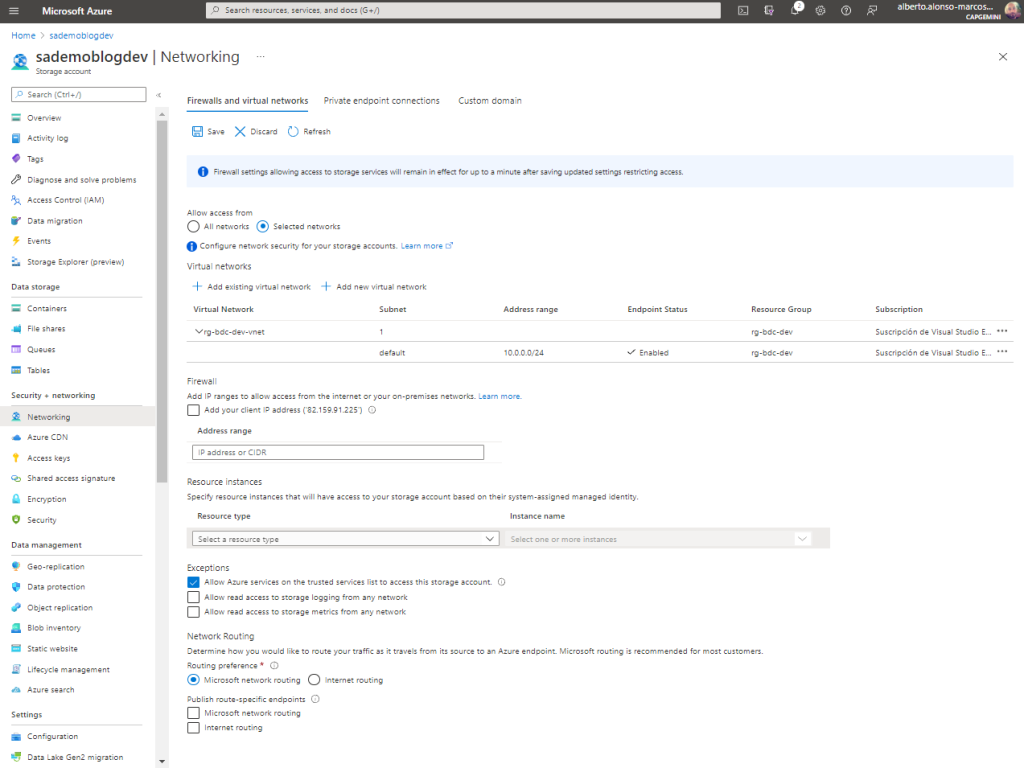
We see that by generating the SAS and configuring the connection from the Azure Storage Explorer, we are able to access the files.
If, on the other hand, I try to access the same SAS from the Azure Storage Explorer on my computer, the result is that it returns an error.

It is tremendously important from the point of view of data architecture and security, to know the best way to restrict access to information. That is why components such as Azure Storage Account allow us to choose from a wide set of solutions.
In future posts, I will continue talking about storage accounts and the different types of storage, since in this one we have limited ourselves to configuring the connections for Blob Storage and I think it is worth knowing how to connect with the rest, but above all understand the use cases to which they respond.