 English | EN
Introduction
In this article I will show how to deploy Azure Function that we created in previous article to Azure. We will create necessary resources and configuration for Azure Functions and Azure Table Storage.
There are multiple ways on how to create infrastructure and deploy your application to Azure. In this article I will show on how to do it via Azure CLI.
Create Infrastructure
First of all we need to create an infrastructure where later we will deploy our application code. We will need to create the following resources:
- Resource Group
- Function App
- Storage Account
- Application Insights (optional but highly recommended)
Azure CLI
Azure CLI – The Azure command-line interface (Azure CLI) is a set of commands used to create and manage Azure resources. The Azure CLI is available across Azure services and is designed to get you working quickly with Azure, with an emphasis on automation. More details can be found on official Microsoft web site.
First of all you need to install it. It is available for all OS and instructions available here.
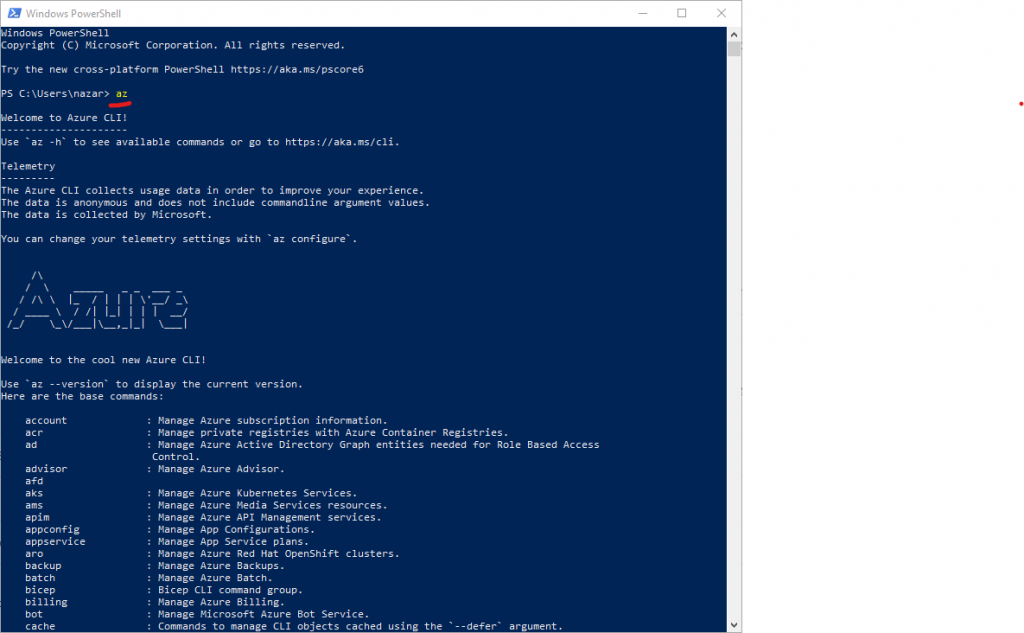
After installation is finished open PowerShell or any other CMD and type az. If installation was successful it should show you something like that:
Azure CLI Login
First of all we need to authenticate our Azure CLI with Azure subscription. To do it execute the following commend:
az loginThis command will open a browser window and ask to sign in into Azure.
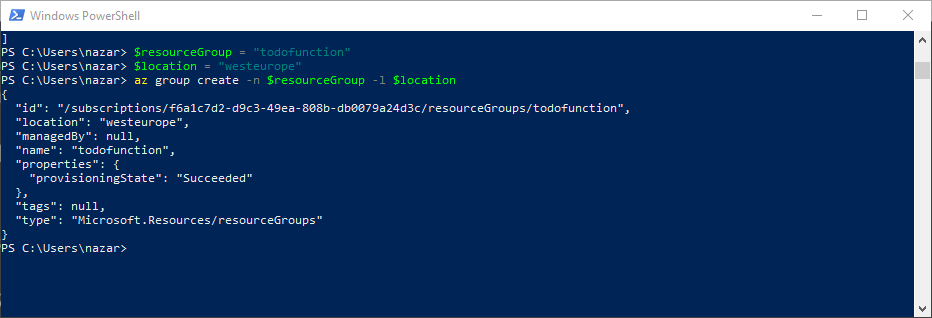
Create Resource Group
Let’s create a Resource Group. A resource group is a container that holds related resources for an Azure solution. The resource group can include all the resources for the solution, or only those resources that you want to manage as a group. Basically it is a container for our resources. More details are here.
Create Storage Account
An Azure storage account contains all of your Azure Storage data objects: blobs, file shares, queues, tables, and disks.

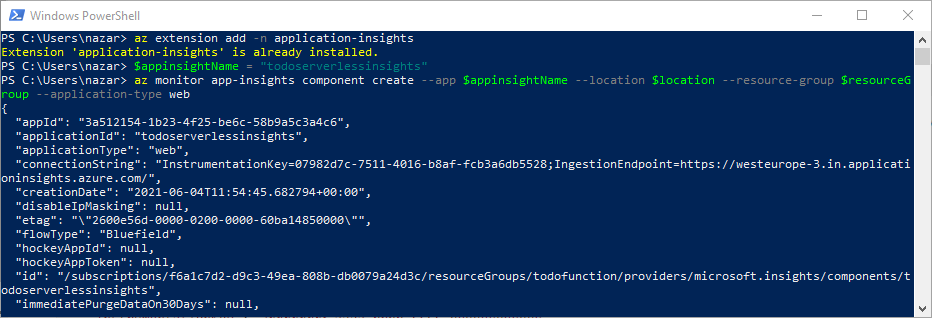
Create App Insights
Application Insights can monitor Azure cloud service apps for availability, performance, failures, and usage by combining data from Application Insights SDKs with Azure Diagnostics data from your cloud services.
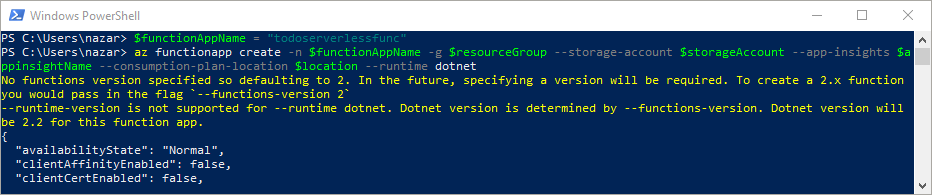
Create Function App
Publish Code to Azure Function
This is very easy to publish your code from Visual Studio.
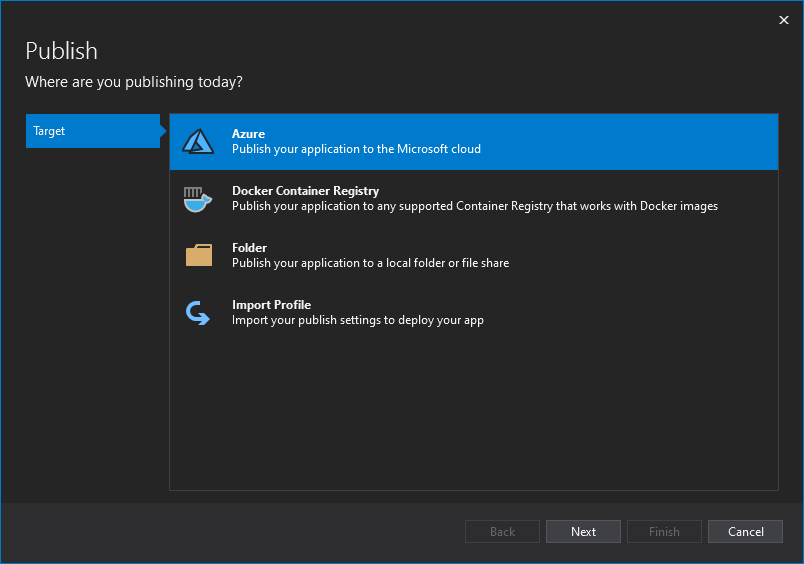
Right click on a project and select publish. In opened screen select Azure
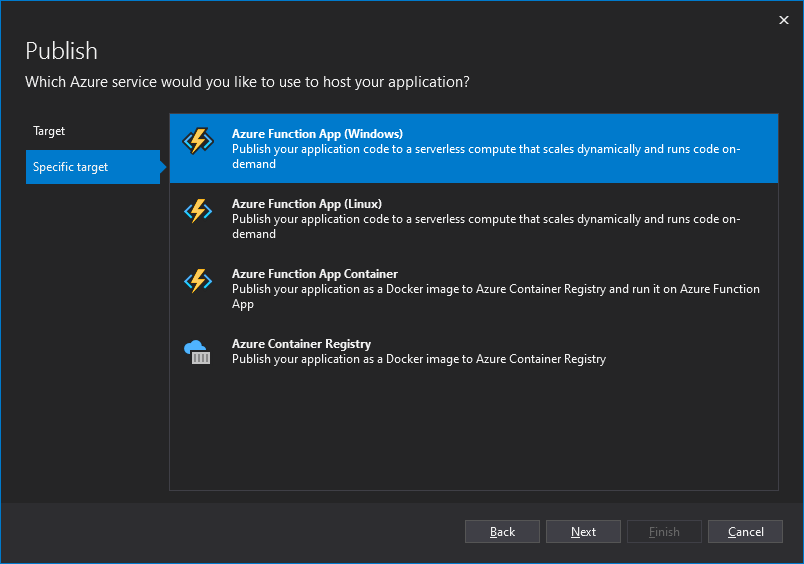
Then Azure Functions Windows
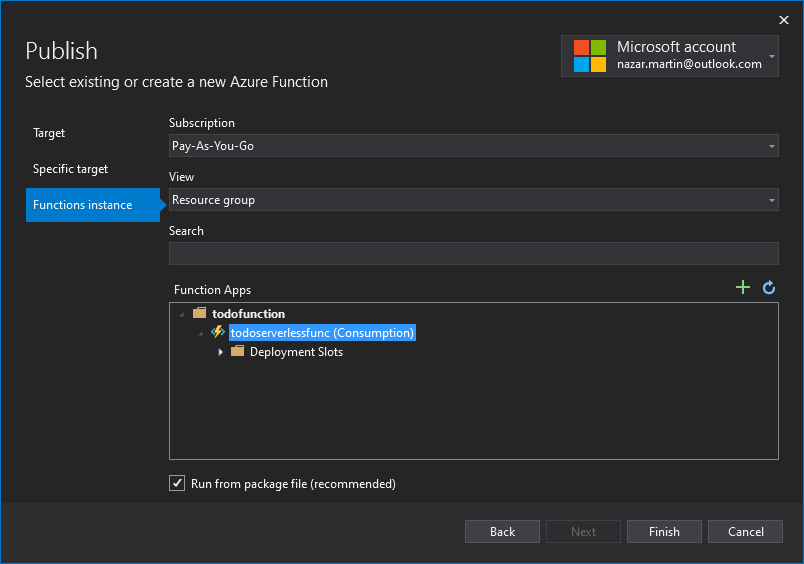
And select the function that we created:
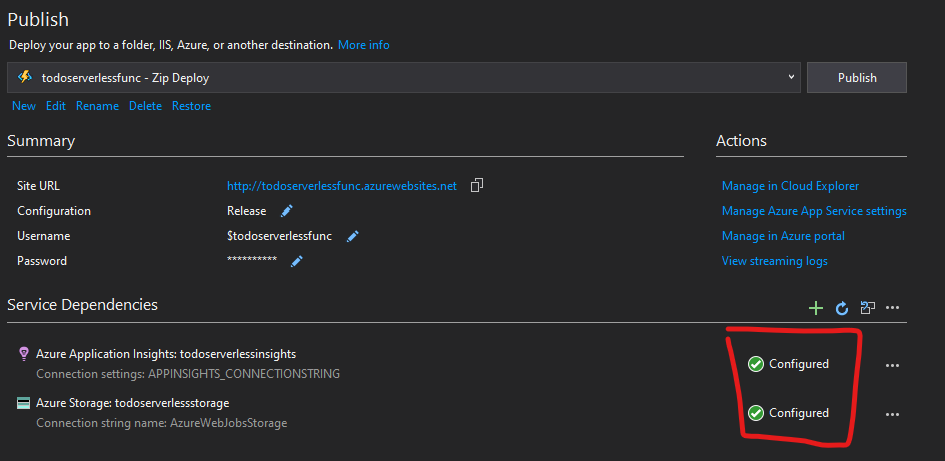
On final screen make sure you pointed the right service dependencies
Test Function App
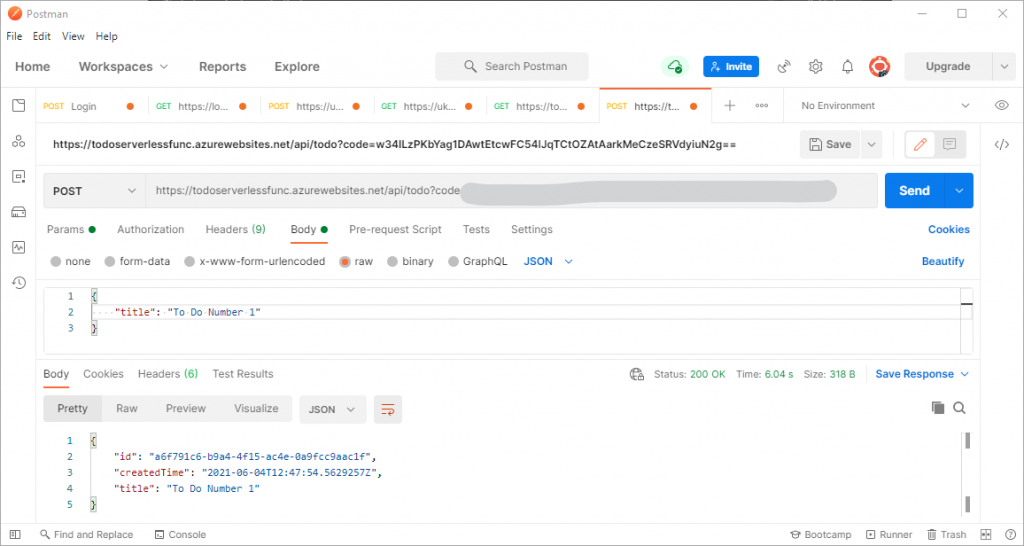
That’s it! Now function app is deployed to Azure Functions you can test on a link https://todoserverlessfunc.azurewebsites.net/api/todo
To create:
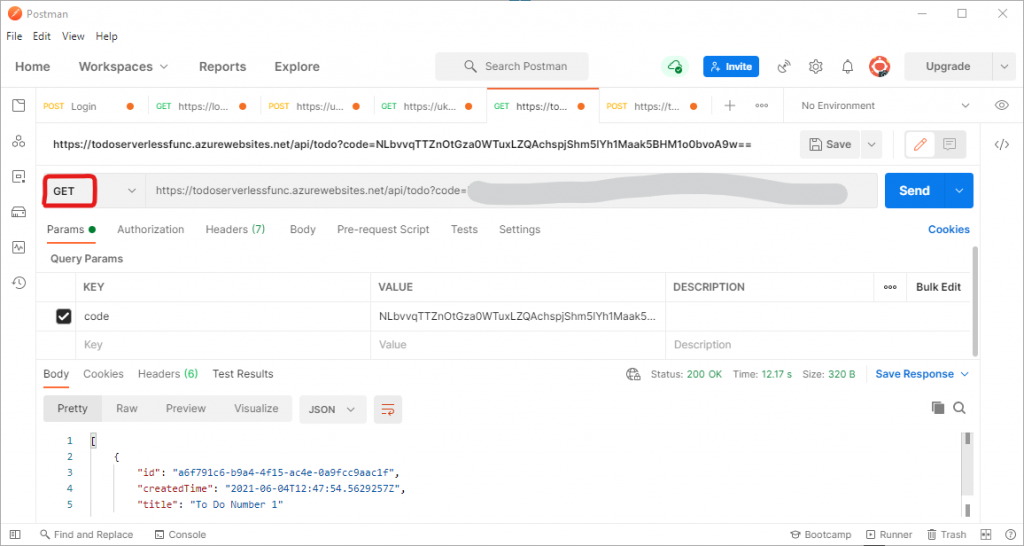
And to Get all todos:
Happy coding! In article 3 I will show on how to create an automatic deployment process with Azure Pipeline.