 English | EN
So you have a Oculus Quest 2 lying around and want to develop with Unity? You’re at the right address. This blogpost will help you setup your environment.
Setup your machine
I’ve chosen to setup a virtual machine in the Microsoft Azure cloud. Why? Basically because my laptop has too much crap installed and I want to develop on a clean, nice, Windows 11 machine.
For this I use Azure DevTest labs, so I can setup a new machine really quick, and make use of auto start and shutdown features to save money!
I’m not diving into DevTest labs, but the specs of my machine are as follows:
| Size | Standard_D8as_v5 |
| Operating system | Windows |
| Base Image | Visual Studio 2019 Community (latest release) on Windows 11 Enterprise N (x64) |
| Disk | 512GB SSD |
| RAM | 32GB |
Yes that is a 8 core machine. At this moment I advise you to convince your boss to give you a MSDN Enterprise subscription.
Sincerely, your creditcard
You also could run with a 4 core machine, but the 8 core is a lot snappier, obviously more cores is always better.
Install Tooling
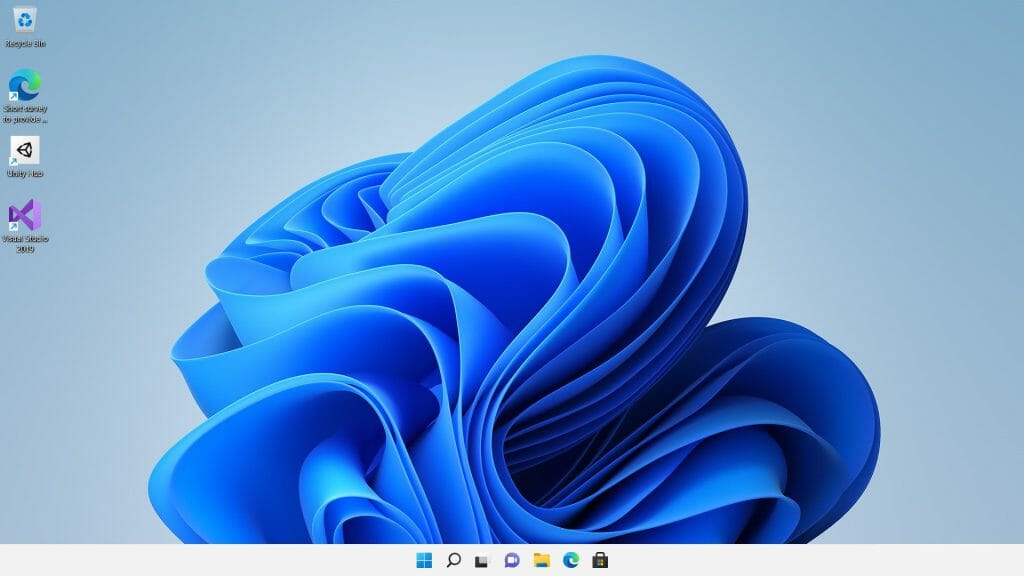
When you started your VM, you will see the default screen of Windows 11. Due to the preinstalled tooling, Visual Studio 2019 Community and Unity Hub are already installed:
First things first. We need to install the ‘Media Feature Pack’ in Windows 11. If you do not install this, your build will fail in Unity later on, so go to Settings, select ‘Add an optional feature’ and search for Media Feature Pack:
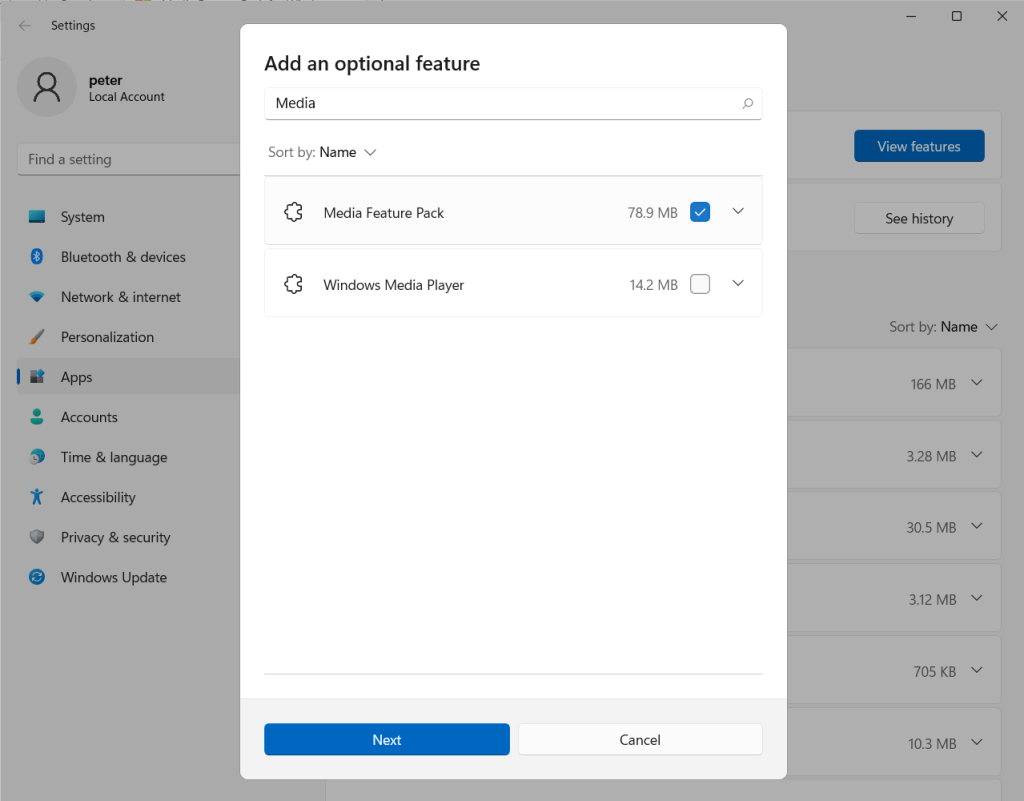
This step will require you to reboot your machine. Thanks to the 8 core VM this will be really quick.
After the reboot, open the Unity Hub:
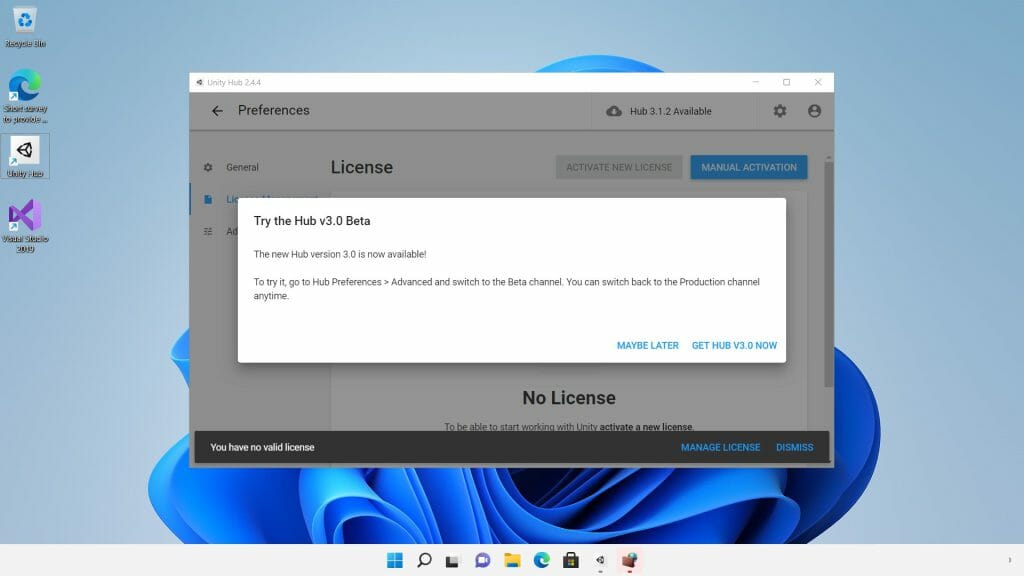
As you can see above, it will ask you to update. Please note that by default the ‘beta’ channel is selected. Clicking on the cogwheel in the top right will allow you to revert to the ‘normal’ feed. You can then update to the latest Hub (3.1.2) at time of this writing.
And… Yes! You’ve just installed Unity Hub!
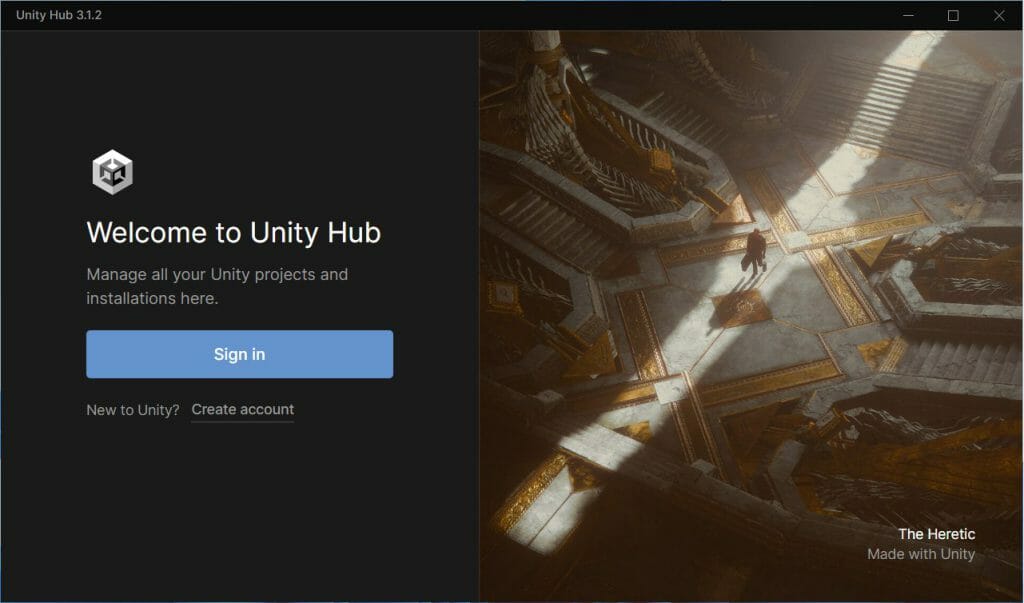
Make sure you create a Unity account so you can create and select a license later on.
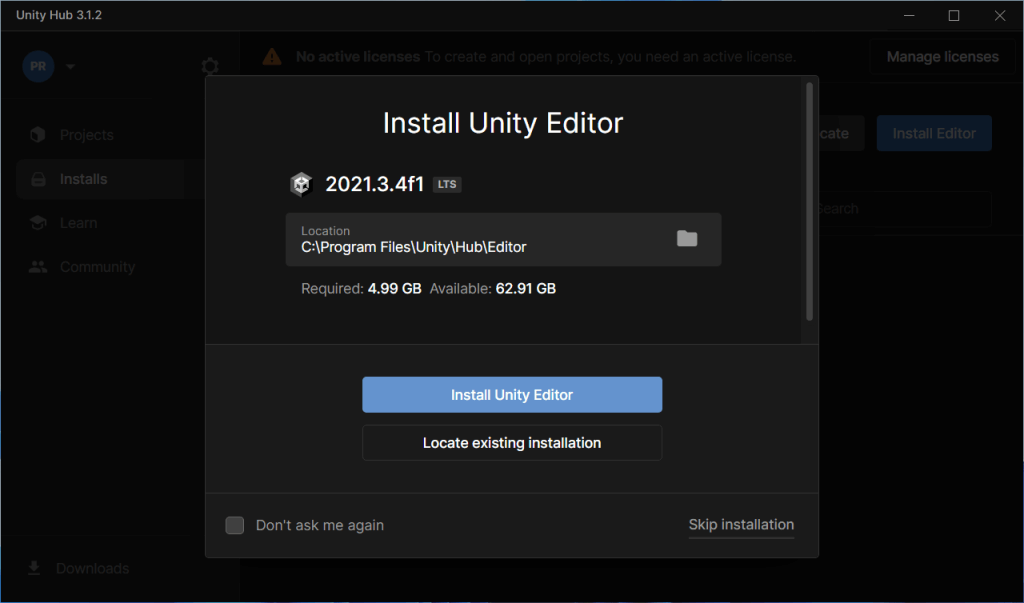
After opening Unity Hub, you can install the actual editor. You can run multiple side by side, but in this case I just grabbed the latest one, and clicked Install:
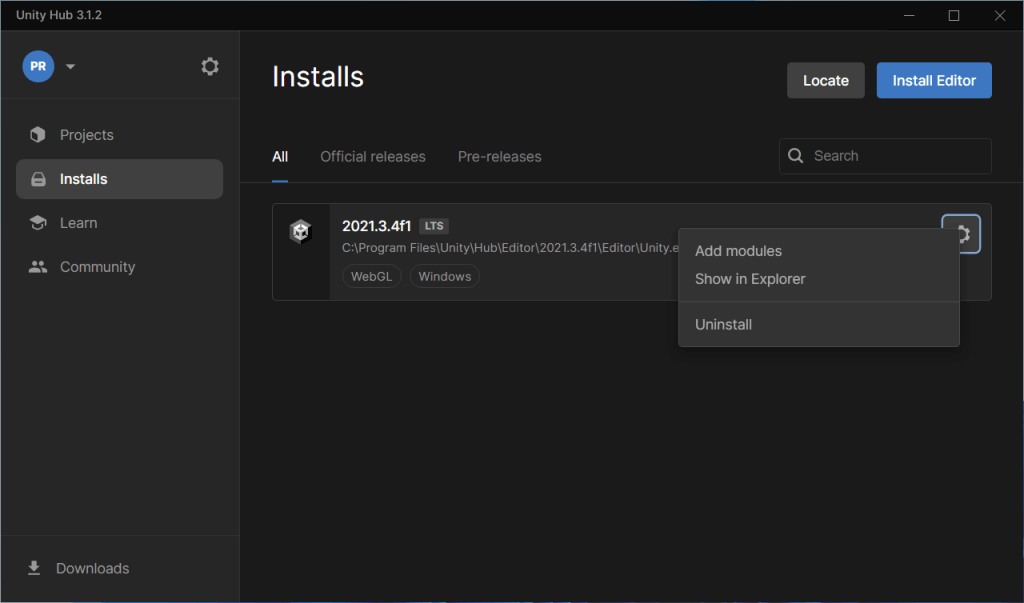
When the install is finished, we need to add some modules:
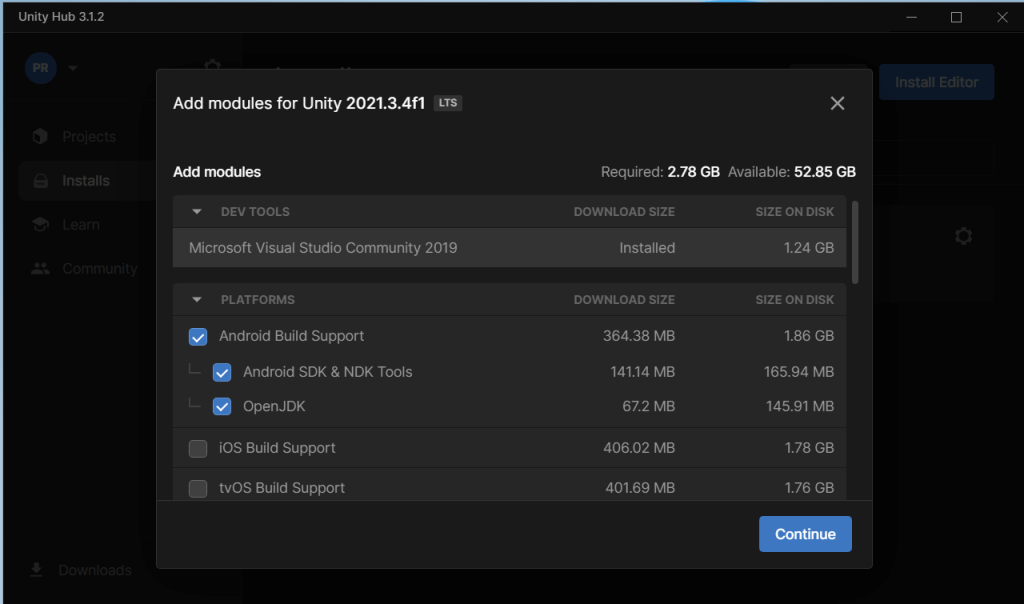
As the Oculus Quest 2 runs on Android, select the Android Build Support like below:
Congratulations! You’ve prepared your machine for creating Unity projects! The next part will explain creating your first Unity project.
My First Unity Project
To create your first project; fire up Unity Hub, and select ‘New Project’:
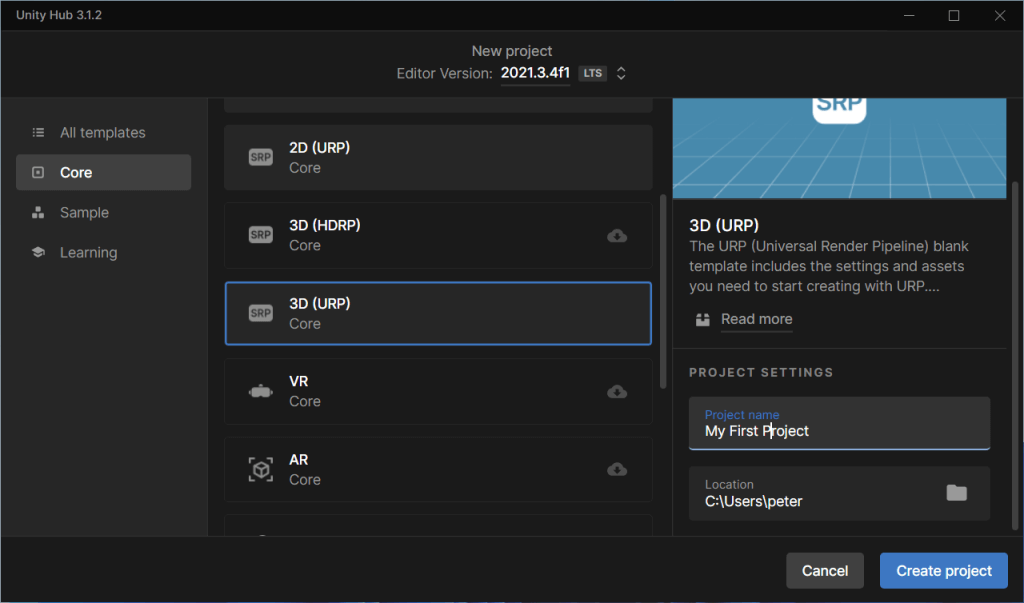
As you can see above, I’ve selected a empty 3D (URP) project, named it ‘My First Project’. Click on ‘Create project’ to get started.
After some time, your editor will be loaded. But by default it won’t target Android. For this go to ‘File’ -> ‘Build Settings…’:

Select ‘Android’ and click on ‘Switch Platform’ to make sure you target Android. After that, select ‘Player Settings…’:
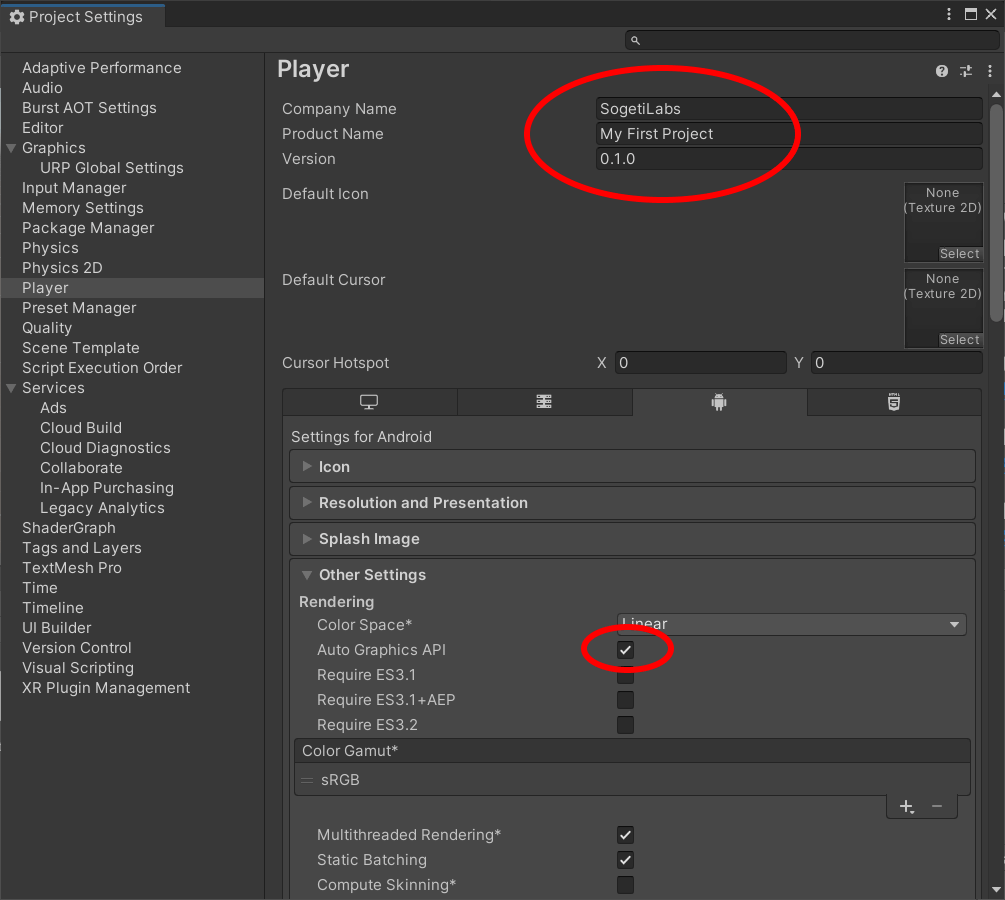
As you can see above, I’ve set the company name, and the product name to something of my choosing. Also make sure you check the ‘Auto Graphics API’ checkbox or you will get reminded when you want to build.
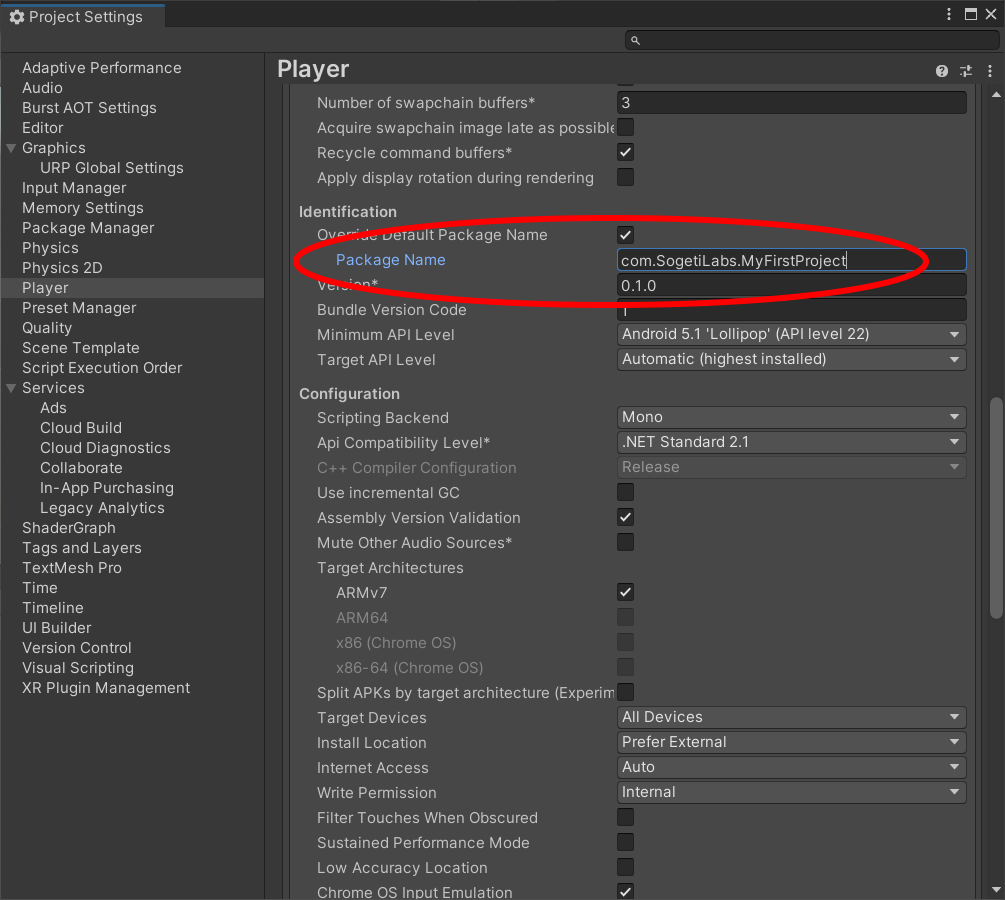
Also important is to set your Package Name correctly. Scrolling down in the Player Settings, will allow you to set that name. If you choose an invalid name the program wil nag about it, so keep it simple:
Adding Packages and setting the Scene
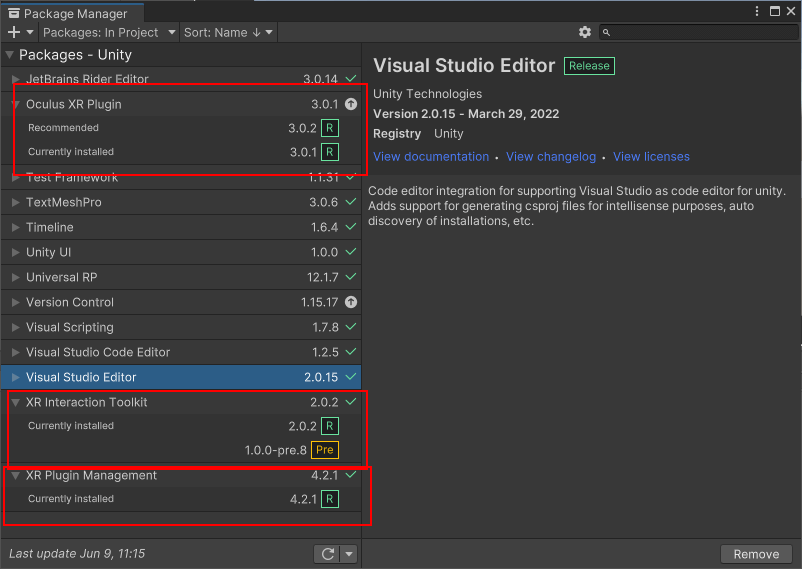
To be able to run this project actually on the VR glasses, you will need to install some packages. This might seem tedious, but it is needed every time you create a new project.
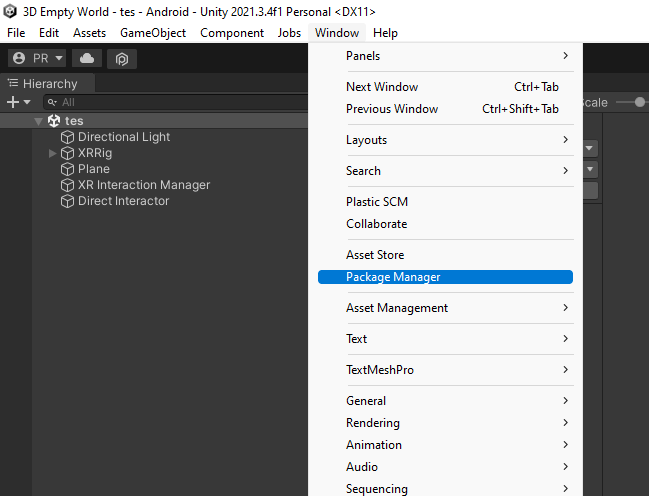
Go to the Package Manager via the Windows menu:
And install the packages highlighted below:
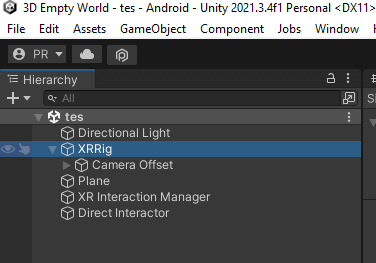
Finally make sure your scene is a ‘XRRig’ one, like shown below:
Just play around with the ‘Plus’ button to see how everything works.
If you build it, they will come
Obviously (for me) you will need to build the actual application. As we are building an Android App, it will create an APK file:
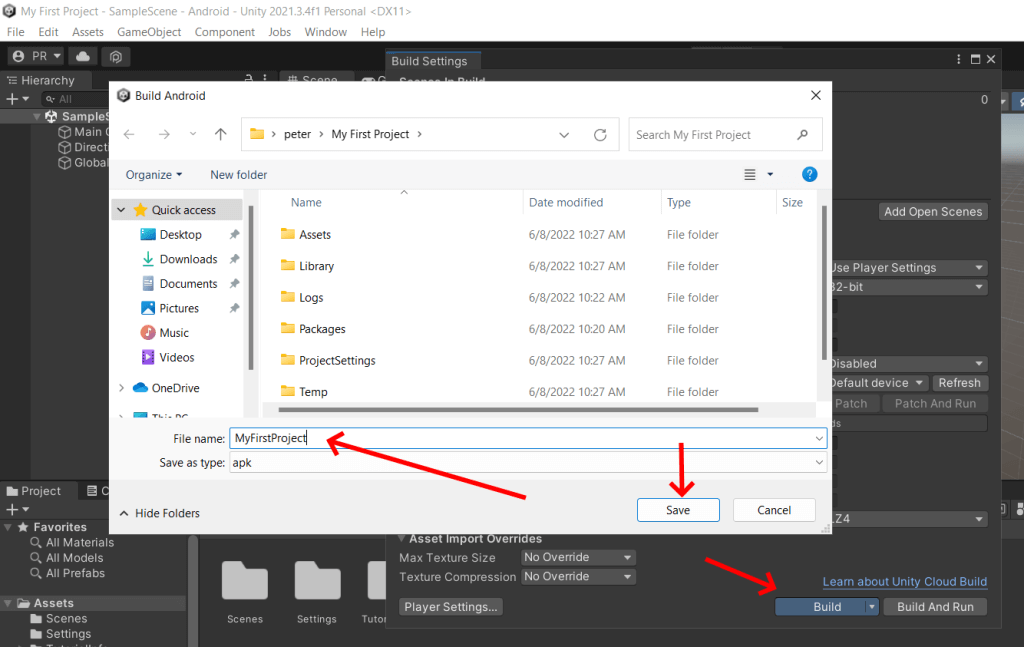
The screenshot above shows what happens after clicking the Build button. You will get a popup and should be able to select a name and location for your file.
And you are done! You’ve successfully built your first APK file for the Oculus Quest 2.
Deploying to your Oculus Quest 2
There are several ways of deploying Android applications to a device. Doing it outside of a appstore is called sideloading, and can be done using a tool.
First of all you will need the USB drivers, and a USB cable. Follow this guide to install the drivers otherwise it won’t work.
Next, make sure your Oculus Quest 2 has ‘Developer mode’ enabled. This easy guide will help you do just that. It is basically setting a switch to ‘on’.
In my quest (pun intented) of finding the absolute most easy way of doing this, I stumbled upon SideQuest. Go to ‘Get SideQuest’ install it, and you’re good to go.
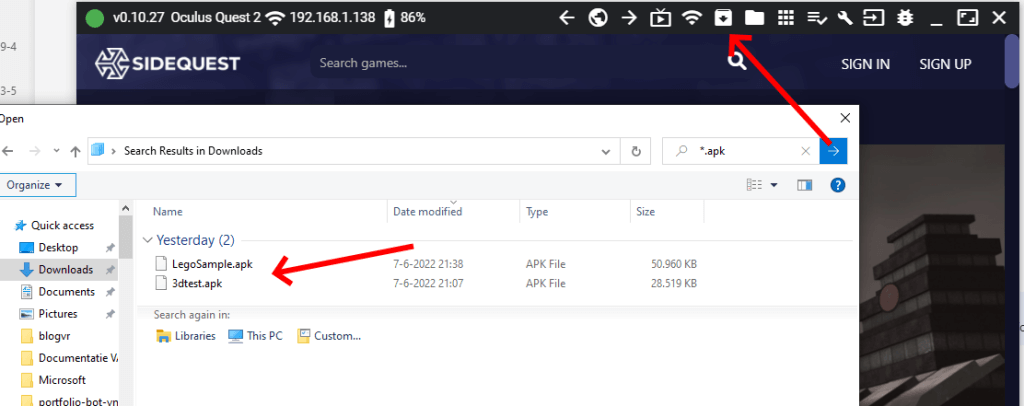
So, if your drivers are installed, and your glasses are linked to your PC, you can click on the icon shown below, and select your APK file:
That is it. You’ve just finished all the steps and installed your application on your Oculus Quest 2.
Bonus: Stream your Oculus Quest 2
The disadvantage of having only one pair of glasses is that other people in the room cannot see what your are seeing. To solve this you can stream your viewport to a laptop.
For this you need a USB cable, and a software too . The cool thing is that the same SideQuest app for deploying your package to the Oculus Quest 2 can be used to stream your viewport to your laptop!
The same tool for sideloading can be used:
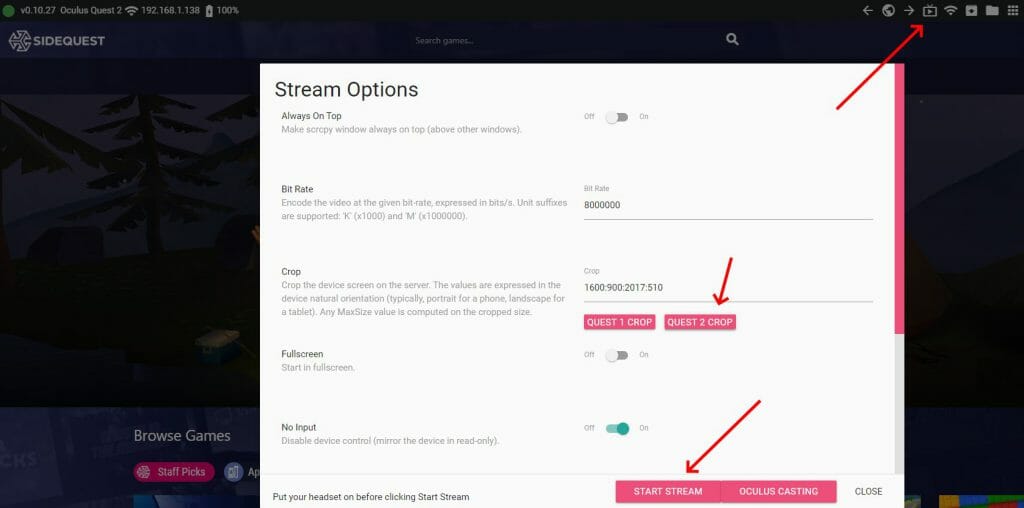
Click on the TV icon, click on ‘Quest 2 Crop’ and ‘Start Stream’. In the following video I will show the application we just sideloaded to finalize the demo:
Costs and Licensing
Check your license! Personal use is free but for companies and enterprises you definitely need a license for both Unity and Visual Studio!
If your revenue or funds raised in connection with your use of Unity are more than $100K in the last 12 months, choose one of our subscription plans.
Unity licensing
An unlimited number of users within an organization can use Visual Studio Community for the following scenarios: in a classroom learning environment, for academic research, or for contributing to open source projects.
In non-enterprise organizations, up to five users can use Visual Studio Community. In enterprise organizations (meaning those with >250 PCs or >$1 Million US Dollars in annual revenue), no use is permitted beyond the open source, academic research, and classroom learning environment scenarios described above.
Visual Studio Community licensing for organisations
Concluding
So, it is easy to develop for VR? No it is not.
Yes it is relatively easy to get started, but remember that this is only the beginning. Like with programming, a Hello World example is easy, but creating an application that holds value can be really complicated and needs a team of people working on it.
Feel free to leave your comment on this site or contact me!