 English | EN

The idea with this post is to delve into the Big Data capabilities that Microsoft SQL Server 2019 presents. To do this, I am going to do a step-by-step tutorial so that, in a simple way, you can do the practice yourself and advance your technical knowledge .
This was a capability released in version SQL Server 2019 (15.x) to help organizations manage their volumes of data, even when stored in external data sources. The solution is orchestrated by a Kubernetes cluster using Docker containers, allowing easy scaling.
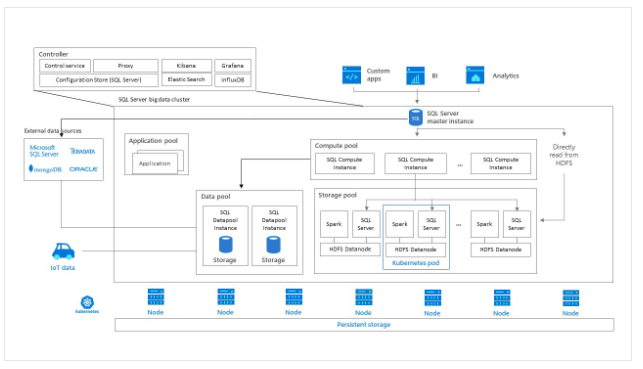
The main components of our Big Data Cluster are:
- The Master Instance, which manages the data group (using DDL) manipulates the data in that data group (using DML) and directs the execution of analysis queries on the data group.
- Compute Pool, is the one that provides the SQL instances that support the computation
- Storage Pool, this component allows combining data ingestion solutions using Spark, also HDFS type storage and access, and finally connection points with SQL Server.
- Data Pool, provides SQL Server instances for storage and processing.
- Application Pool, allows us to provide interfaces for the creation, administration and execution of applications. A very interesting advantage present in these applications is the high calculation capacity and the fast access to data. So it is ideal for ML models, for example.
The first thing, to avoid overloading my computer, is to configure a Virtual Machine in Azure, on which we will configure our own Kubernetes cluster.
In this case, our machine will have a Windows operating system and it will include a set of tools that I will need to complete the step by step.
- Python
- kubectl
- azdata
- Azure Data Studio
- Azure Data Studio virtualization extension
- Visual C ++ Build Tools
- Azure CLI
- Notepad ++
- cURL
- 7ZIP
- SQL Server command line utilities
- Putty
Once the MV is created, we proceed to connect to it and begin with the installation and configuration.
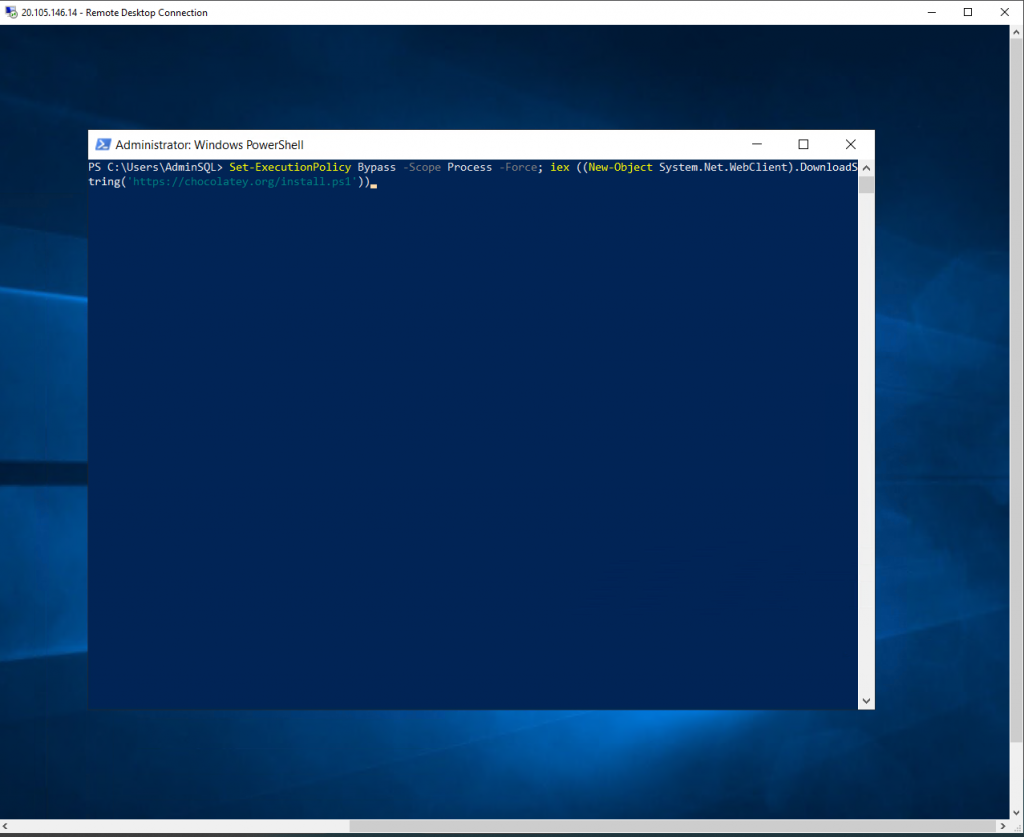

Now I install python3 via code

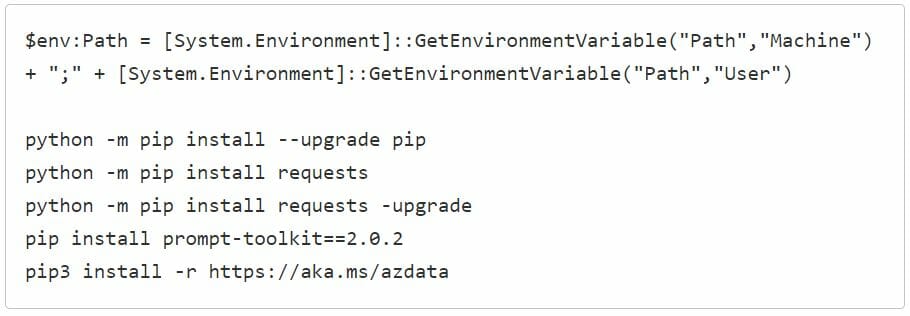
And I do the same with the rest of the prerequisites

Once this part is completed, we must prepare the Python environment and install Azdata, let’s see how:
NOTE : it is mandatory to run Powershell commands as administrator, remember.
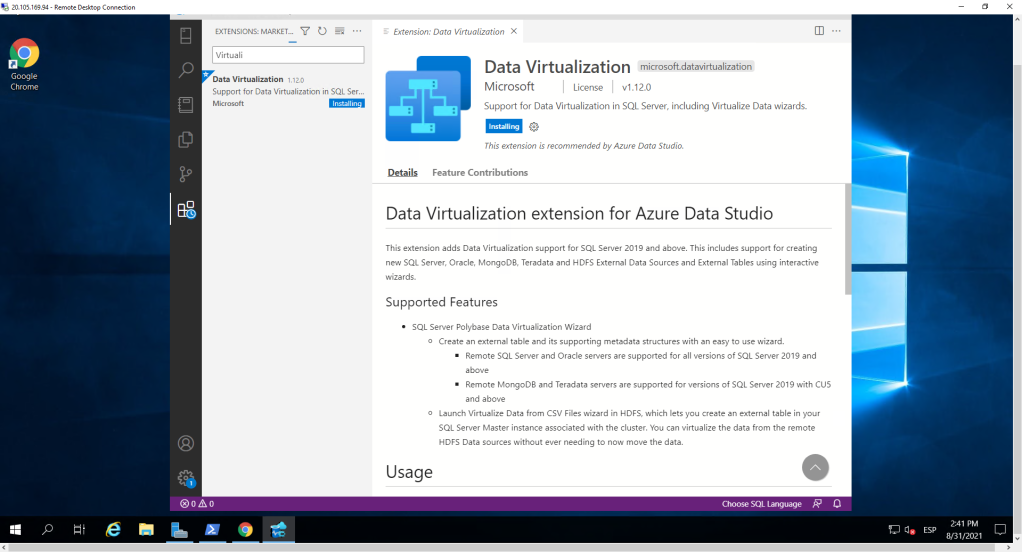
The next thing is to include the virtualization extension in Azure Data Studio. To do this, we open it in our MV and select that extension. We install.
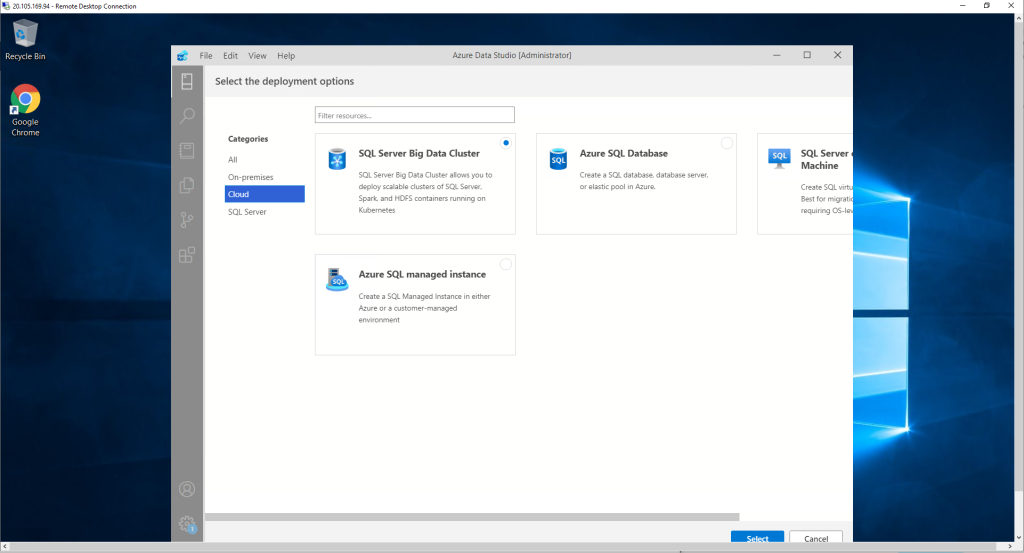
Once the extension is installed, we move to the part of the servers and click on the three points to the right of Connection and again on New Deployment. We select the Cloud category and choose SQL Server Big Data Cluster.
Now it only remains to complete the steps that will be presented to us. let’s go for the first one.
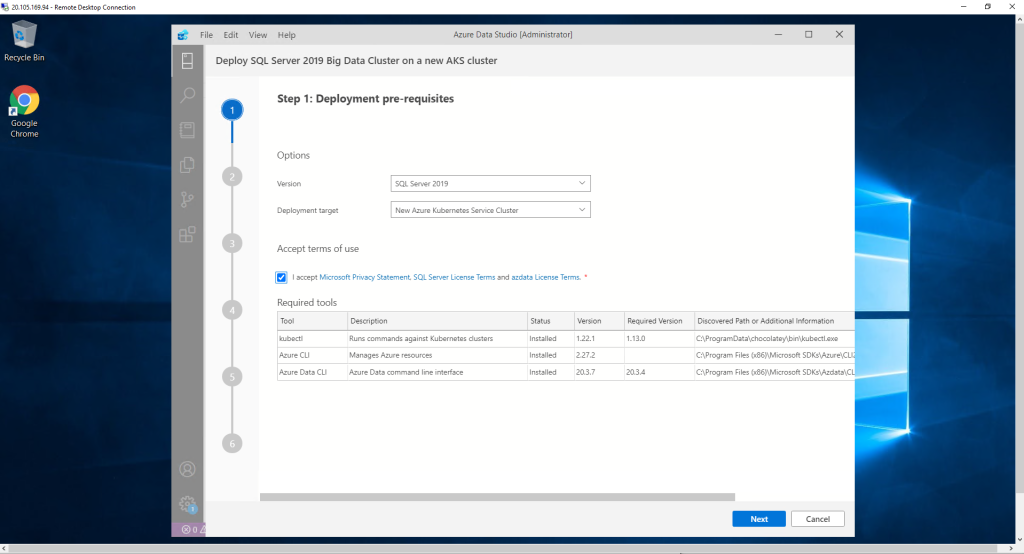
When choosing the option to create a new Kubernetes cluster in Azure, in the next step we will have the option to decide if it is a resource for high availability environments or not. In our case, we decided that it does not have high availability.
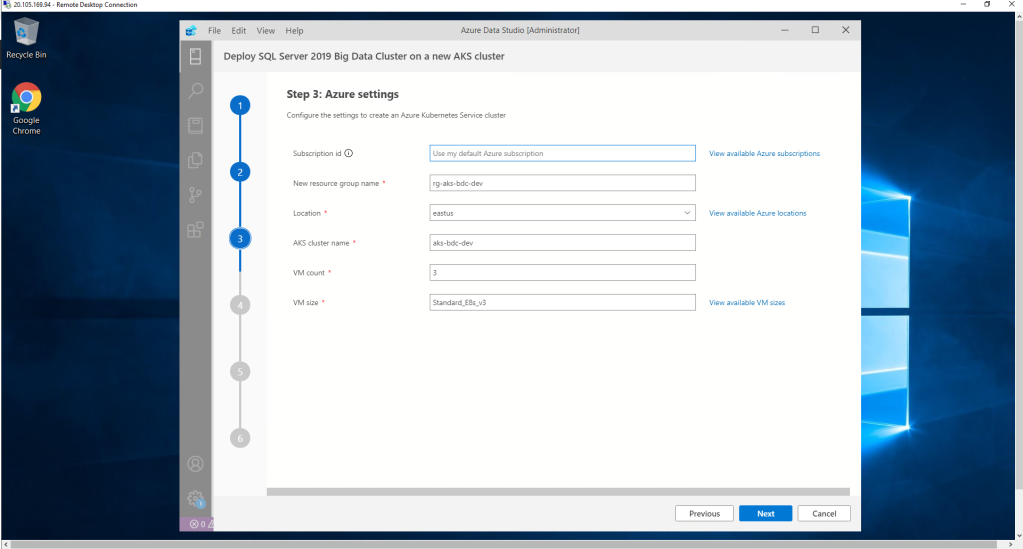
We include the details of our Azure subscription, as well as the location, name of the resource group, the name of the AKS cluster and the number and type of virtual machines that support it.
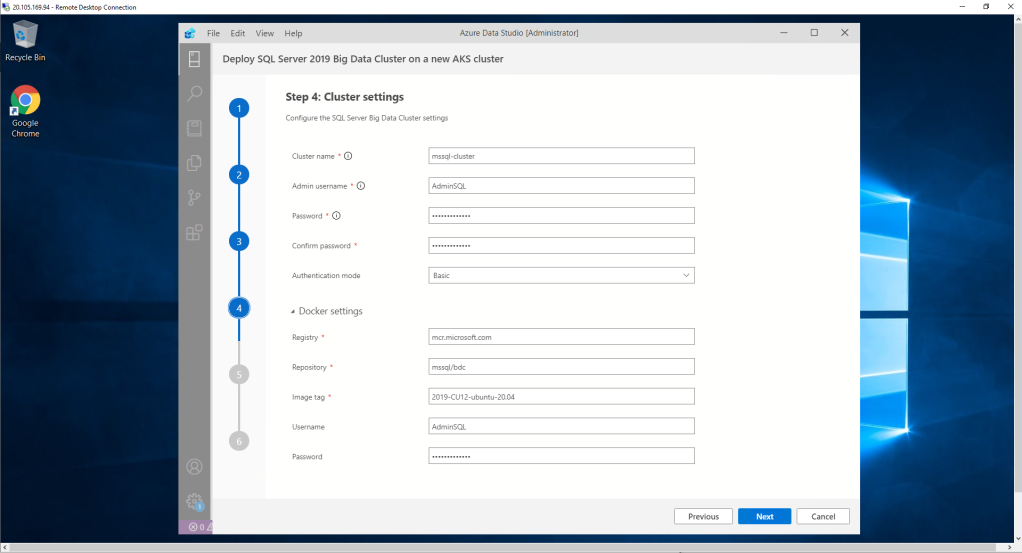
In the fourth step, we configure everything related to the cluster, such as name, managed, Password or authentication mode (Basic or through Active Directory). We can also act on the containers.
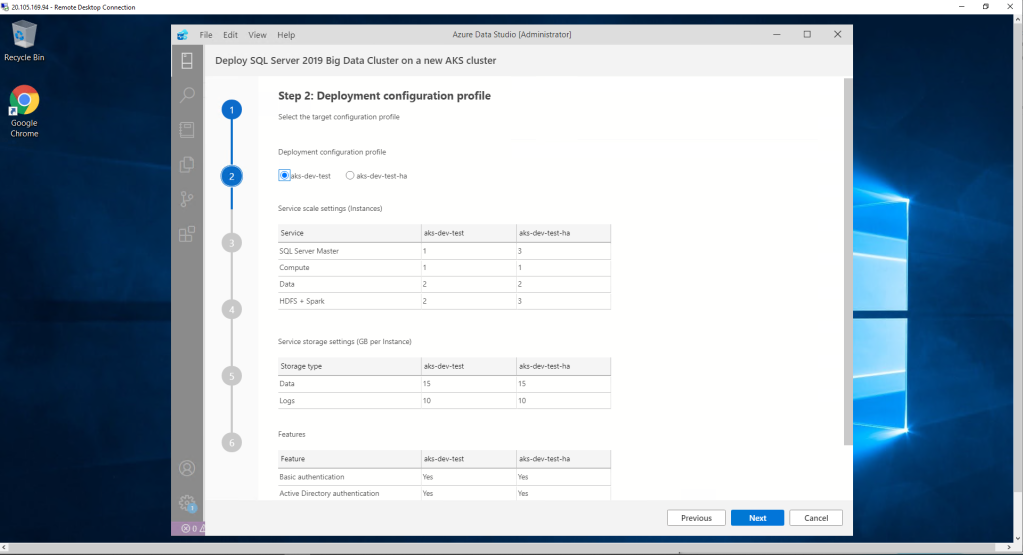
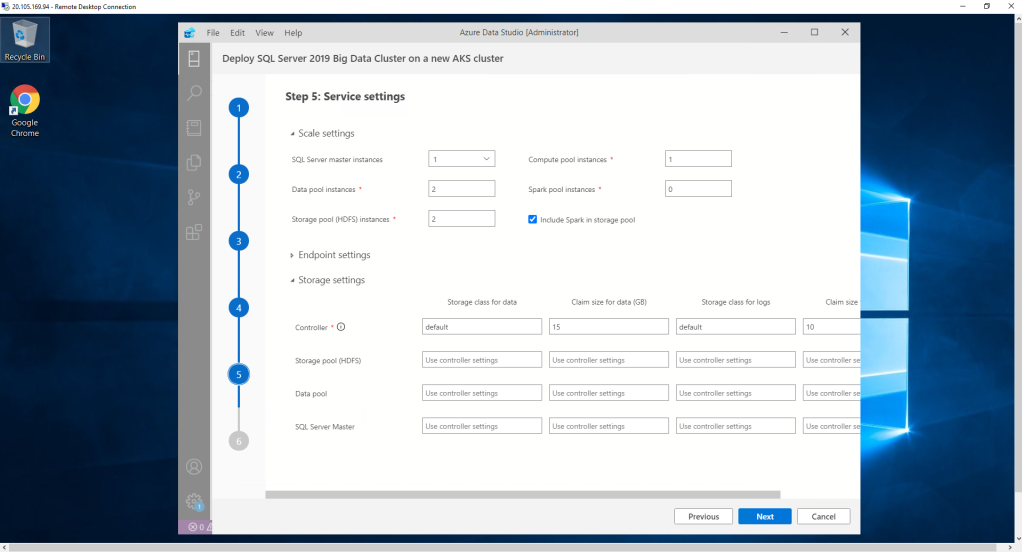
In the fifth step we configure the number of the main components of the Big data Cluster.
Finally, as in almost all resource creation processes in Azure, the summary screen appears. We validate the information and continue.
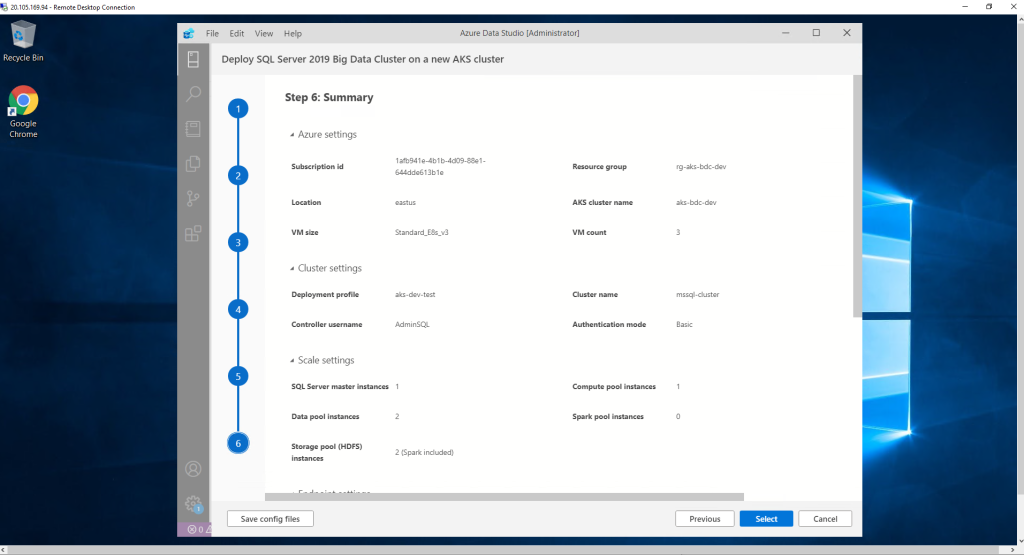
NOTE : Remember to save the configuration of the new display.
Once the deployment of the new resource is completed, we jump to the configuration of the engine of our Notebook. Since we had previously installed Python, we don’t have to repeat the process. So we choose our facility.
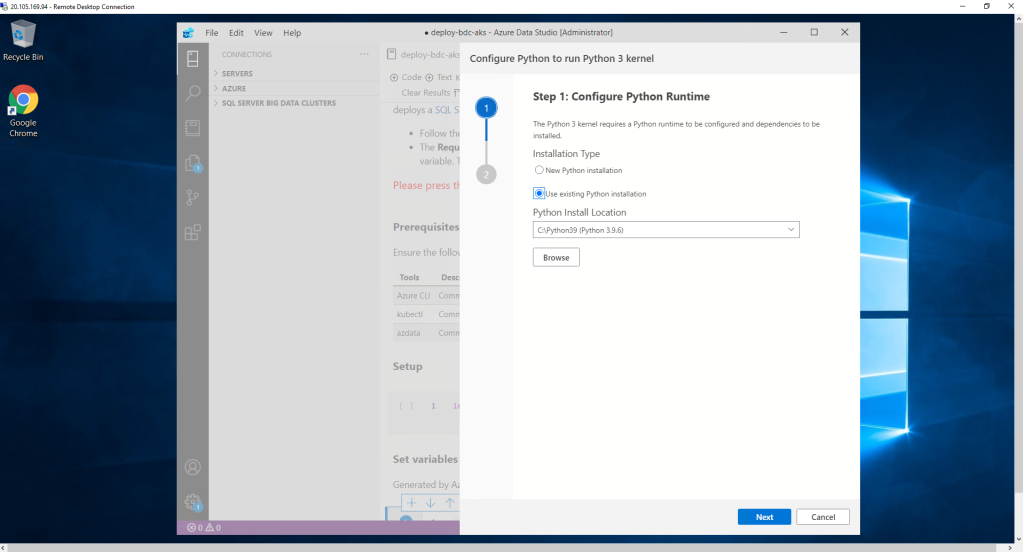
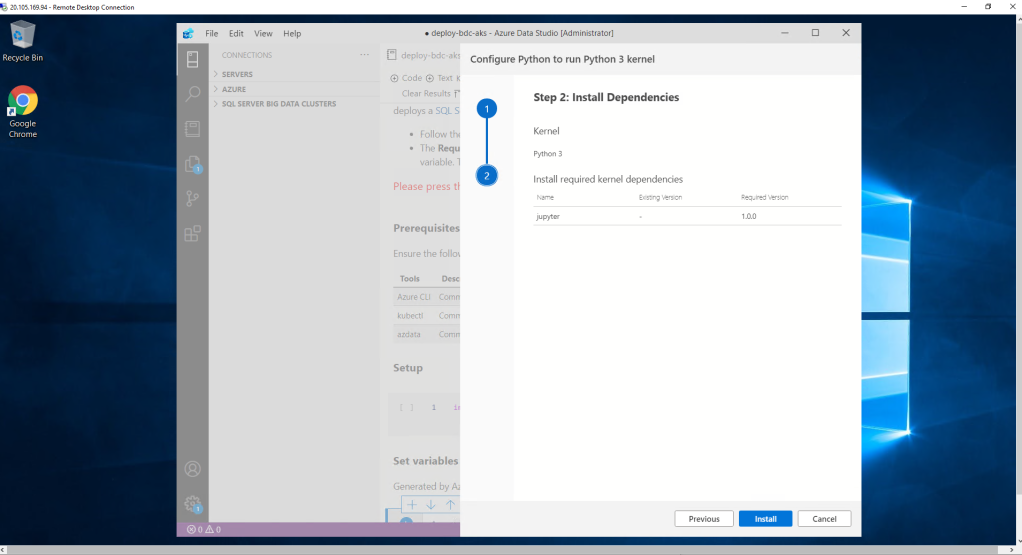
The system directly detects possible dependencies and we continue with the configuration.
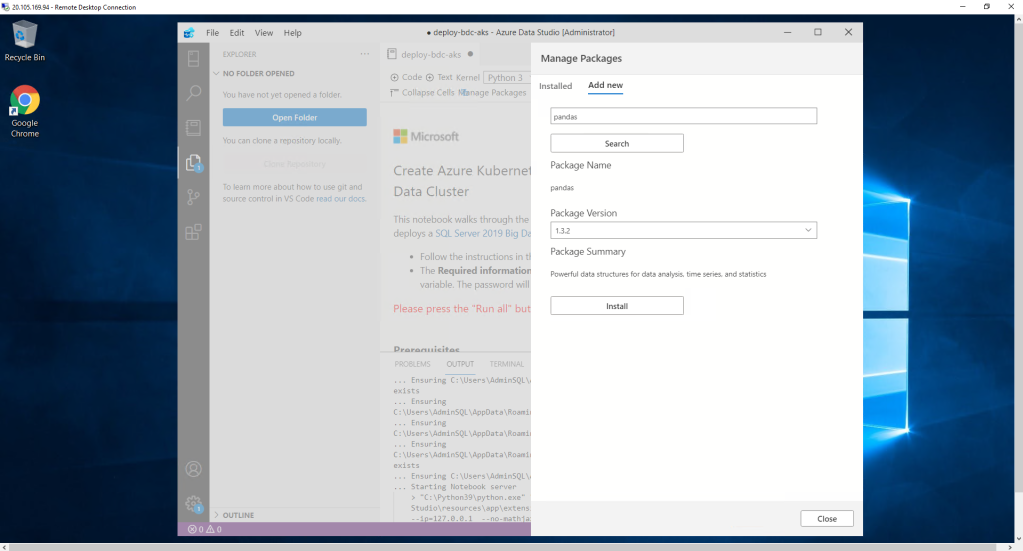
It seems that everything is already completed but it is not. If we start to execute the Notebook that we have open by default, we observe that when we execute the first cell, it returns an error regarding the pandas module. you have to install it. How?
Clicking on the manage Packages icon at the top right and selecting the Add new tab. We include pandas and click Install.
The same happens with the AKS configured previously. If we go to our subscription, it is not there yet. We have to run the Notebook to complete the deployment. The previous steps were only a wizard to help us step by step and facilitate the deployment of the AKS and other resources through code. Interesting, right?
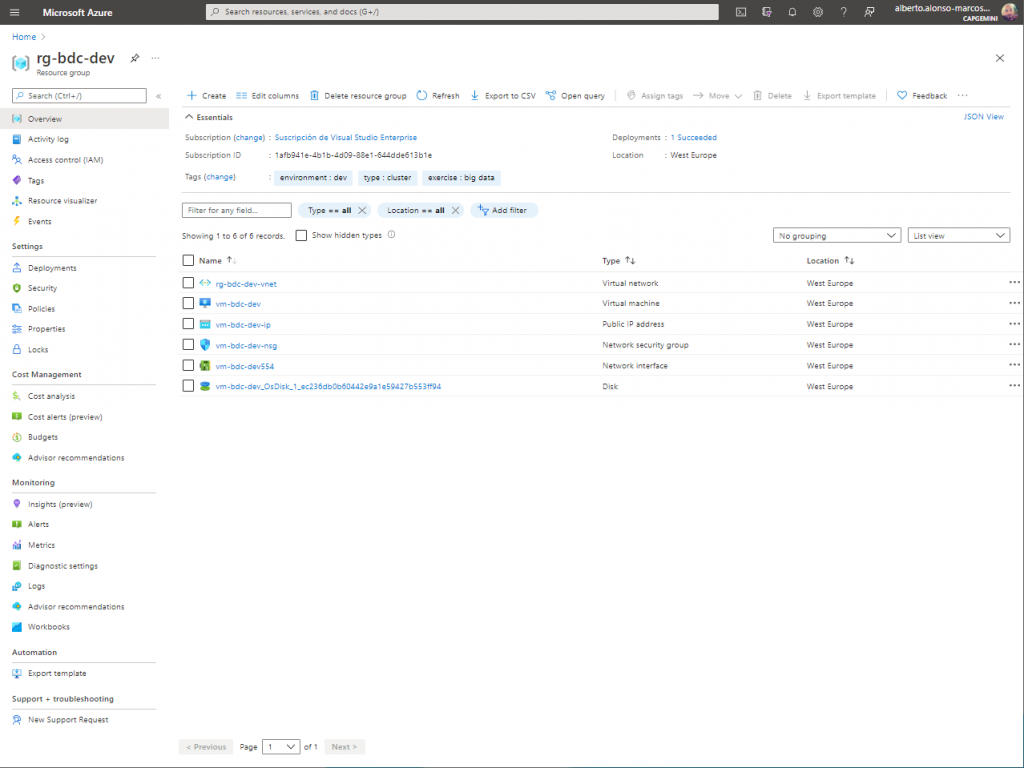
Now, once all the cells of our first Notebook have been completed correctly, we will be able to see the new group of resources with all the services deployed and ready.
In the next installment we will see how to work with large volumes of data taking advantage of this Big Data Cluster in Azure Kubernetes Services with SQL Server 2019.
Cover photo thanks to Markus Spiske at Pexels