In this post I want to cover how you can automate a pipeline migration to a Synapse workspace using Azure DevOps. As a follow up to a previous post I did about one way to copy an Azure Data Factory pipeline to Synapse Studio.
Because even though the post is good it deserves a follow up showing an automated way of doing it. I wanted to show that it can be done more gracefully.
In reality, there are a few reasons why you would look to do this. For example, if you are looking to migrate pipelines that are in various Azure Data Factory services. So that they are all in a single Azure Synapse Analytics workspace.
By the end of this post, you will know an automated way to migrate an Azure Data Factory pipeline to an Azure Synapse Analytics workspace using Azure DevOps.
Azure Data Factory example
For this example, I decided to recreate the pipeline objects that I had created before as part of another post. Which showed an Azure Test Plans example for Azure Data Factory. It uses a mapping data flow, as you can see below.

One key point is that in order to use this method both Azure Data Factory and Azure Synapse Analytics need to be setup to use source control.
For this demo I configured them to use Git repositories in Azure Repos within Azure DevOps. However, they can also be stored in a GitHub Enterprise repository instead.
In addition, to keep things organized I setup the Azure Data Factory objects to be stored in a subfolder of the repository called datafactory. I did this by setting the root folder to be datafactory.
In addition, I did a similar thing for Synapse workspace objects. So that they are stored in a subfolder called workspace.
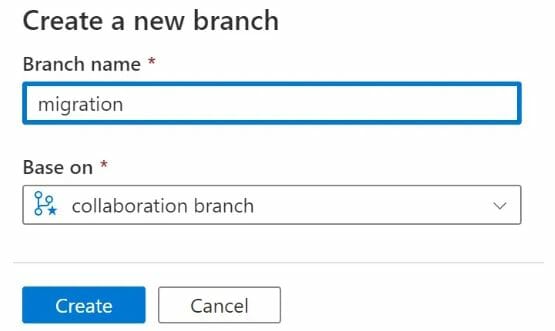
I wanted to use create a new branch in Synapse Studio to put the new objects in as well. Because you can do this in the real-world to check you are happy with updates.
I did this by creating a new migration branch in Synapse Studio based on the collaboration branch. As you can see below.
Finally, I created secrets in Azure Key Vault for the database connections. Because I discovered in previous tests that there can be issues with credentials. Fellow MVP David Alzamendi has written a good post about how to do this called ‘Azure Data Factory and Key Vault‘.
After testing that the pipeline worked in Azure Data Factory, I looked to automate the migration to Azure Synapse Analytics.
Automate a pipeline migration
I could have looked at a few different options to automate the pipeline migration. For example, I could have looked to use the Azure PowerShell cmdlets for Azure Synapse Analytics. So that the changes would be deployed straight to the workspace.
However, I wanted to keep this example as simple as possible. Because this post is long enough.
To start setting up the automation I went into Azure Pipelines service in Azure DevOps.
From there I created a new YAML pipeline in Azure DevOps. Selecting the Git repository that I had configured for Azure Data Factory. Afterwards, I changed the YAML code to the below:
trigger:
- main

pool:
  name: $(agentpool)

stages:
- stage: Migrate
  displayName: 'Migrate ADF to Synapse'

  jobs:
    - job: 'Migrate'
      steps:
      - checkout: same
      - checkout: git://DataToboggan/SynapseWS@migration
Before I go any further I want to give a quick overview about what the above code does. First, it sets the trigger to be for changes to the main branch and sets the pipeline to use agent pool that I had created. Which contains a self-hosted agent.
Afterwards, the above code checks out the Git repository used for Azure Data Factory. Following that there is a second checkout statement. Which is used to checkout the migration branch for the Synapse repository.
To give a bit more detail here, the checkout statements create local clones of the Git repositories to my agent.
Once I checked that the above code worked, I then added the below code:
      - task: PowerShell@2
        inputs:
          targetType: 'inline'
          script: |
            Copy-Item -Path DataTobogganADFdatafactory* -Destination SynapseWSworkspace -Exclude @('publish_config.json','datatobogganws-WorkspaceDefault*.json') -Recurse -Force

            cd SynapseWS
            git add .
            git commit -m "added new files from ADF"
            git push origin HEAD:migration
First this PowerShell script copies the files over, excluding the publish_config.json and the default workspace files. It then navigates to the SynapseWS folder on the self-hosted agent. Which is where the Git repository is stored on the agent.
From there it runs Git commands to commit the changed files. It then synchronizes the contents of the folder with the migration branch that exists in the Git repository in Azure DevOps.
Testing pipeline migration
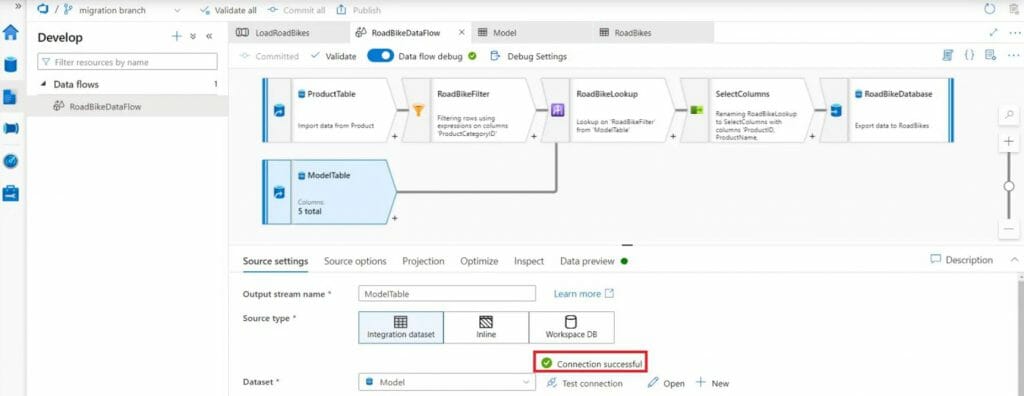
Once that had completed, I went back into Synapse Studio. I selected the migration branch at the top of the screen and then I went into the Develop Hub. From there, I then went to the new Data Flow and turned-on Data flow debug. So that I could test that the connections worked.
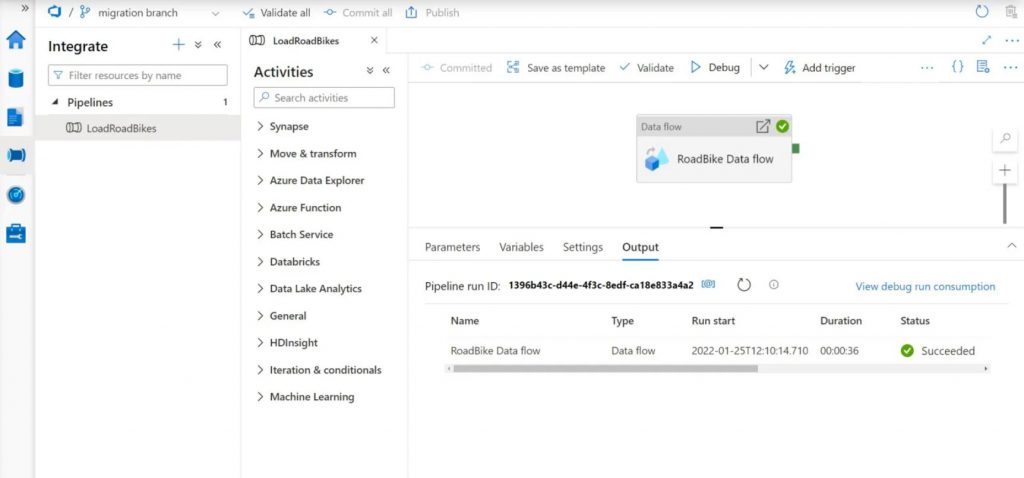
Afterwards, I went to the Integrate Hub. From there I ran the pipeline in Synapse Studio by clicking Debug. Which succeeded, as you can see below.
Double checking pipeline migration
To double check that this method worked I truncated the destination database table. Afterwards, I closed Synapse Studio and deleted the migration branch in the Synapse repository.
I then went back into Synapse Studio and recreated the branch based on the collaboration branch again. Like I did earlier in this post. To start with a clean slate.
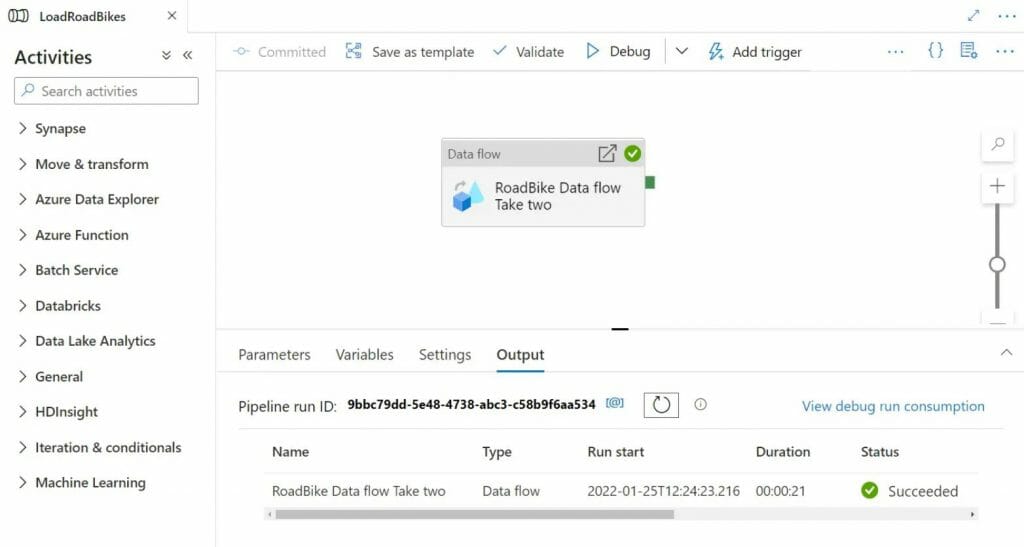
From there, I then went into Azure Data Factory and renamed the Data flow activity in the pipeline to make the change visible. I then clicked ‘Save’.

I then went into Synapse Studio to check that the name change appeared there as well. Afterwards, I clicked Debug to check that the pipeline still worked.
To be certain, I also used Query Editor in Azure SQL Database to check that the destination table had rows in it.
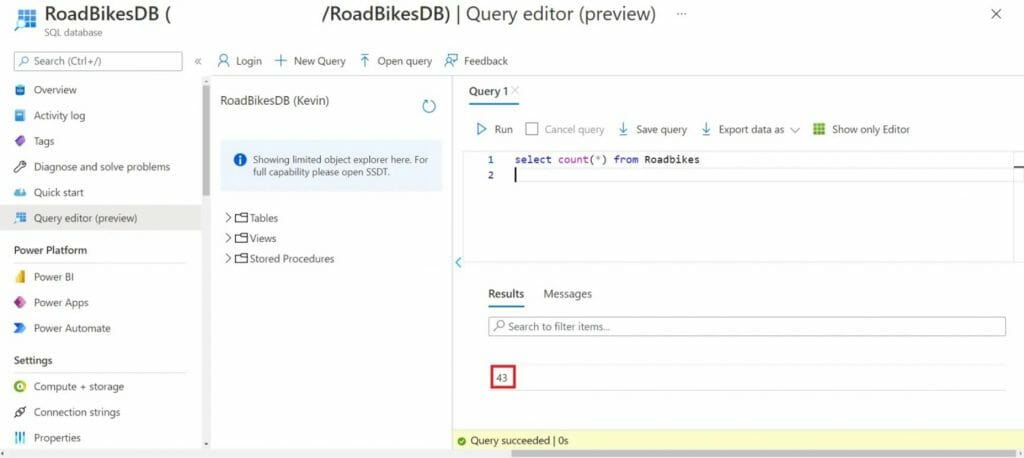
Which confirmed that this method to automate a pipeline migration worked.
Final words about automating a pipeline migration
I do hope this post about how you can automate a pipeline migration to a Synapse workspace using Azure DevOps helps some of you. Plus, I also hope it inspires some of you to explore other ways of doing this. Because there are other options you can look into.
I am really glad I got around to doing a follow up on my previous post. It was good timing as well. Because the official Azure Synapse Analytics blog update for January 2022 was published just after this post went live. It includes various new features and is worth reading.
Of course, if you have any comments or queries about this post feel free to reach out to me.
Please note – This blog was originally published on my personal blog here.

 English | EN