 English | EN
 AMQP TO AZURE SERVICE BUS WITH LINUX
March 4, 2016

IoT Scenario: AMQP to Azure Service Bus
In this post I’ll create message communication from a Linux CentOS VM with AMQP to Azure Service Bus. I chose Linux because it is on a lot of IoT related devices. I’ll describe a few steps to make it work:
- Create the Service Bus on Microsoft Azure
- Create a Linux VM on Microsoft Azure
- Connect to the VM via SSH
- Install Apache Qpid Proton-C on the VM
- Create a Python script to send the message
- Create the Service Bus on Microsoft Azure
When you create a Service Bus via the Azure portal it is not possible to use ACS. But for the AMQP communication you need ACS, so you can create more–>a Service Bus with Powershell.
If you don’t have Azure Powershell download and install it first.
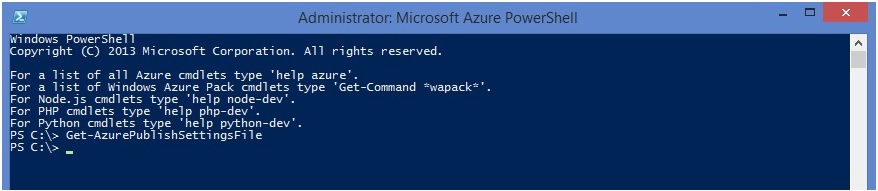
Open the Microsoft Azure Powershell window and run this command:
| 1 | Get-AzurePublishSettingsFile |
It will bring you to a webpage where you can download your .pubsettings file. Login with your Azure credentials and choose the subscription where you want to create the Service Bus.
Download PubSettings File
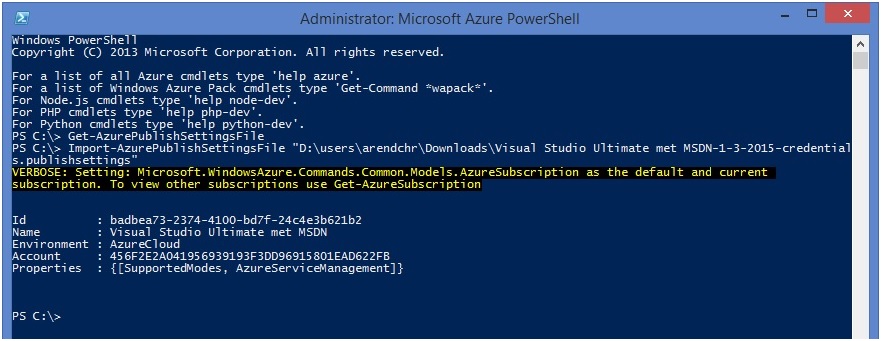
Then run the command to import the .pubsettings file you just saved:
| 1 | Import-AzurePublishSettingsFile “location path .pubsettings file” |

Now you are connected to the Azure subscription and ready to create the Service Bus with ACS:
| 1 | New-AzureSBNamespace chris-amqp-ns -Location “West Europe” -CreateACSNamespace $true -NamespaceType Messaging |

Remember that ACS is needed for this scenario, so the parameter -CreateACSNamespace is $true. In the Azure Portal the new Service Bus is visible.

Next you can create a queue to which the messages will be send. In the Azure Portal, use the Custom Create, because you have to disable partitioning wich is enabled by default.


That’s it, the Service Bus is ready!
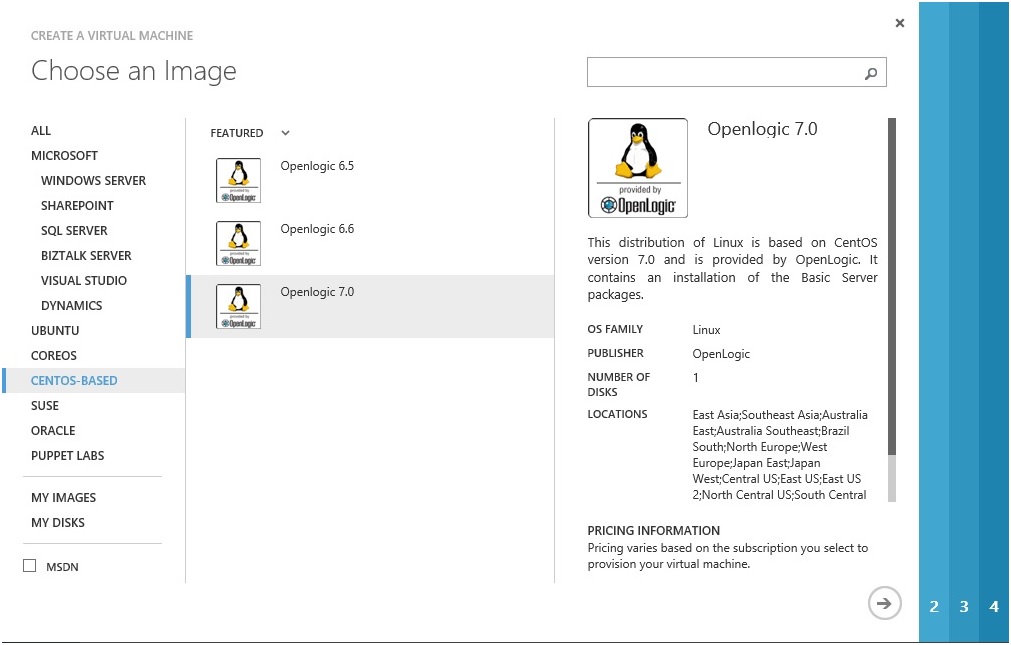
- Create a Linux VM on Microsoft Azure
The next step is to create a VM on Azure. Go to the Azure portal and create a new VM from Gallery.
Check the ‘Provide a password’ checkbox. You’ll need the username and password for the SSH connection in step 3.
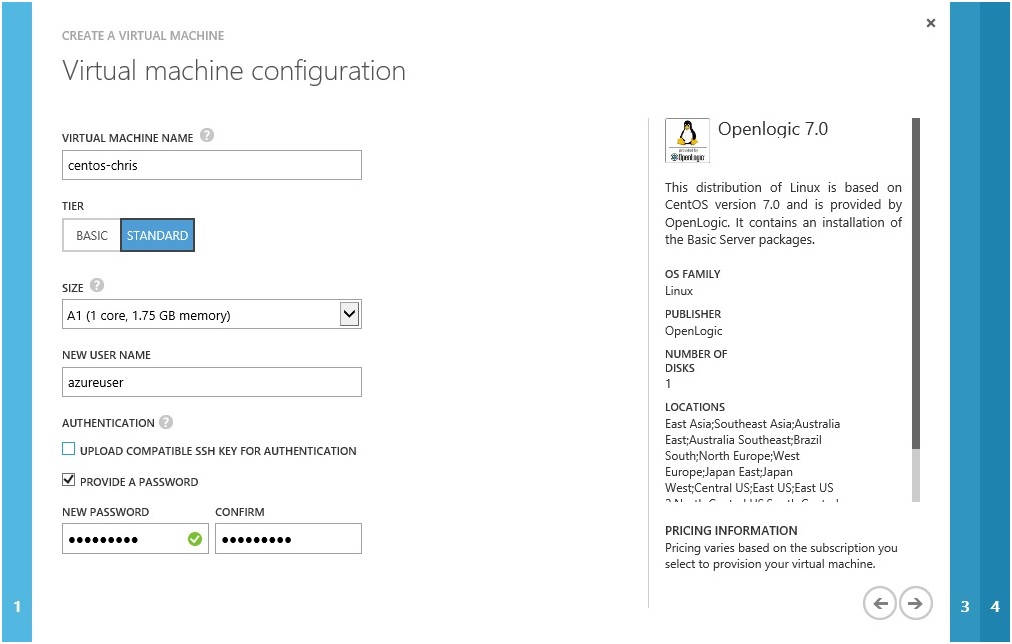
Keep the defaults in the next two steps and create the VM.
- Connect to the VM via SSH
For the SSH connection I’ll use Putty. Other SSH client should also work. Find the DNS name and SSH portnumber of the created VM in the Azure portal. Fill these settings in Putty.
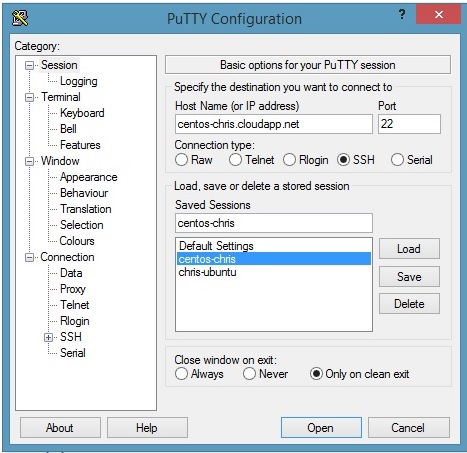
Click Open to open the connection. Then fill the credentials you used when the VM was created.

- Install Apache Qpid Proton-C on the VM
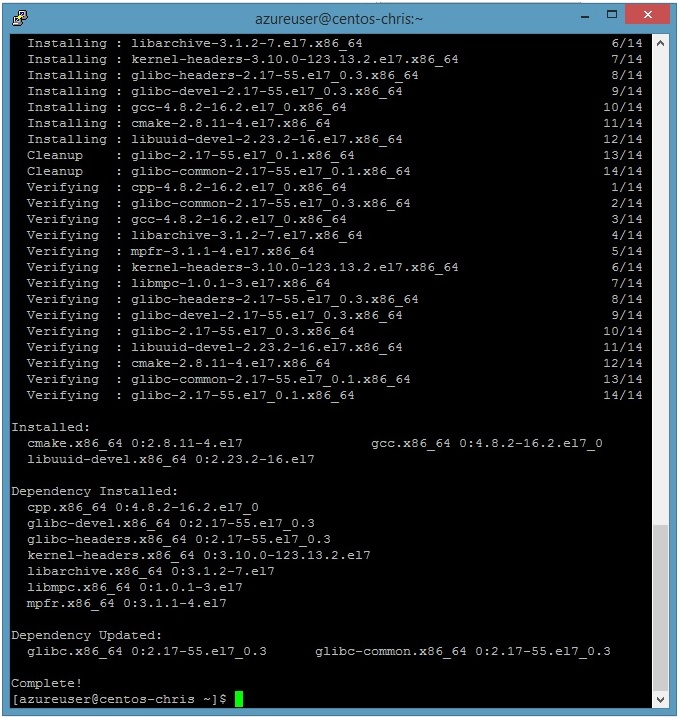
The next step is to install Apache Qpid Proton-C. First you have to install a few packages. Run this command:
| 1 | sudo yum install gcc cmake libuuid-devel |
Then run this command, for SSL support:
| 1 | sudo yum install openssl-devel |
Next run the command to install dependencies for binding:
| 1 | sudo yum install swig python-devel ruby-devel php-devel java-1.6.0-openjdk |
You’ll also need dependencies for python docs:
| 1 | sudo yum install epydoc |
Install wget so files can retrieved from the internet:
| 1 | sudo yum install wget |
Now you can download Qpid Proton:
| 1 | sudo wget http://apache.proserve.nl/qpid/proton/0.8/qpid-proton-0.8.tar.gz |
And extract the files:
| 1 | sudo tar xvfz qpid-proton-0.8.tar.gz |
You can find a directory named ‘qpid-proton-0.8’ when you use dir or ls. Change the directory to ‘qpid-proton-0.8’:

Show Qpid Directory
Now create a new directory named ‘build’ and change the directory to that new folder:
| 1 | mkdir build |
| 1 | cd build |
Build and install the code using the following commands:
| 1 | sudo cmake .. -DCMAKE_INSTALL_PREFIX=/usr -DSYSINSTALL_BINDINGS=ON |
| 1 | sudo make all docs |
| 1 | sudo make install |
- Create a Python script to send the message
Finally, the last step! You are ready to create the script that will send a message to the Azure Service Bus. First change your directory to home/{username}/. Thats the directory with ‘qpid-proton-0.8’.

HomeUsername Directory
Now create a new directory for the python script, and change the directory to that new folder:
| 1 | sudo mkdir pythonscripts |
| 1 | cd pythonscripts |
Create the script, I’ll use vi, but you can use the editor you want:
| 1 | sudo vi sender.py |
Paste this script in the created file:
| 1
2 3 4 5 6 7 8 9 10 11 12 |
import sys, optparse
from proton import *
messenger = Messenger() message = Message() message.address = “amqps://{ISSUER}:{KEY}@{servicebus namespace}.servicebus.windows.net/{queuename}”
message.body = u”This is a text string” messenger.put(message) print(“***BEGIN SEND***”) messenger.send() print(“***END SEND***”) |
Fill the correct settings in the amqp address. For this blog it is “amqps://owner:{KEY}@chris-amqp-ns.servicebus.windows.net/chris-amqp-queue”
You can find the key in the Azure portal. There is a botton ‘connection information’ at the bottom of the Service Bus page. When you click that button you can find the key and the issuer.

Access Service Bus
Now, run the sender. First check your queue:

Queue Before Running Script
Run the script:
| 1 | python ./sender.py |

Run The Script
And check the queue in the Azure portal. There should be one message more then before you ran the script.

Queue After Running Script
Conclusion
We created a Linux VM and a Service Bus on Microsoft Azure. We installed Apache Qpid Proton-C on the VM to send an AMQP message to the Service Bus.
Linux and AMQP are used a lot in IoT scenarios, but not everyone has devices to test AMQP messages. The scenario in this blog can be achieved with just an Azure subscription.
The next step is to install linux on a board like Galileo and send messages to the Azure Service Bus. Soon I’ll show how you can do that.
Originally published on www.iottpoic.com
About the author